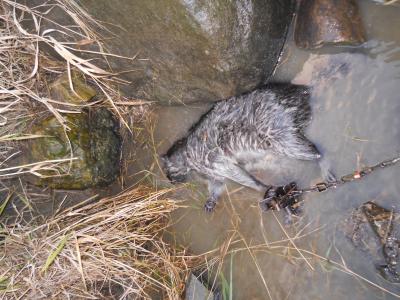
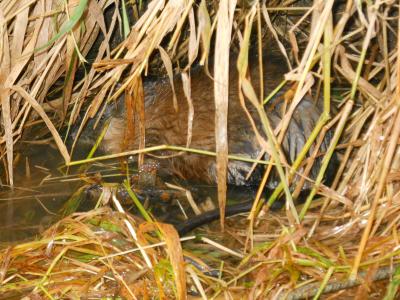
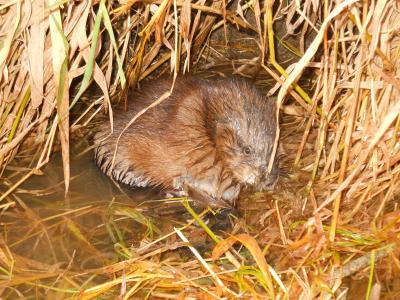
As the season goes along, I figured I would try to get some pelt handling posts put together. With that, here is the first – muskrats.
Foremost, I put pelts up specific to who I am selling to. I encourage anyone to talk with your local buyer with a couple pelts put up and ask them to critique them. Like them or not, Groenwald Fur is my primary buyer and I put them up as they have told how they want them.
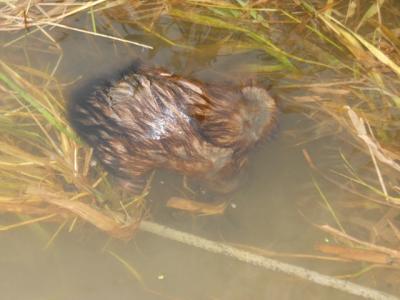
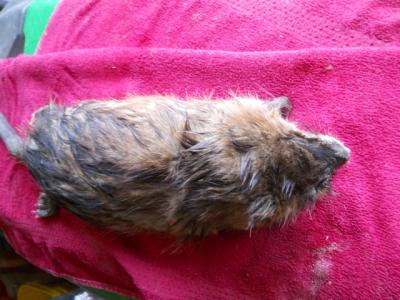
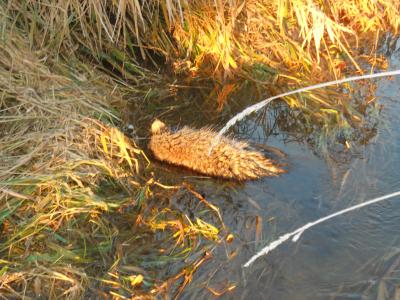
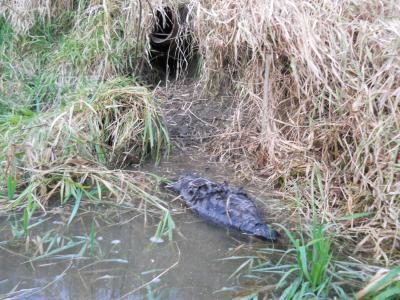
1. After the catch – Most of the time, muskrats are wet from either conibears or drowner sets. If they are muddy or full of sediments, I try to wash them off. Either in the creek, pond, or if needed, I use the hose at home. Never aggressively scrub the hair. Just a gentle flushing is usually all that is needed. Next, I towel dry them to the point of feeling damp. Similar as to how you would abstract water from your own hair after a shower. Finally, I either hang the rats head up or place on a towel for drying. If laid out on a towel, be sure to rotate the rats so that the hair can dry evenly. Never skin while wet.
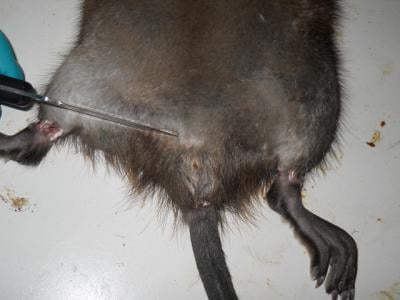
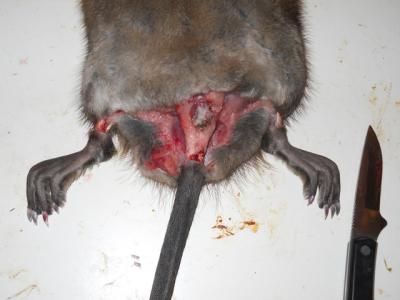
2. I cut the skin around the tail (very close to the end of hair line in the tail) Leave some of the “think” skin as this will aid in use with the stretcher. I then cut the skin around both rear ankles.
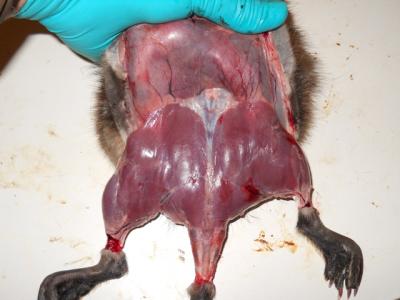
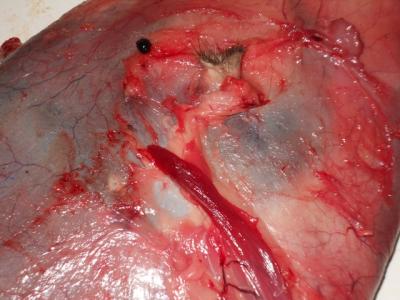
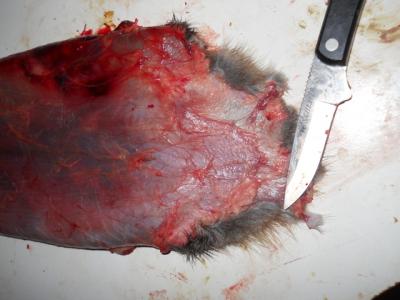
3. Identify the transition line in the hair from the underneath side from the ankles to the vent. Cut on the belly side of the transition from ankle to vent on both rear legs. Then, from the underneath side, cut from the tail to the vent. With the muskrat on its back, I work the skin off from the flesh from the vent back to around the tail. Next, I cut the connecting tissue and remove the hide from the hind legs. I prefer a small 2-1/2″ very sharp knife for cutting the connecting tissue as shown in some of the pics.
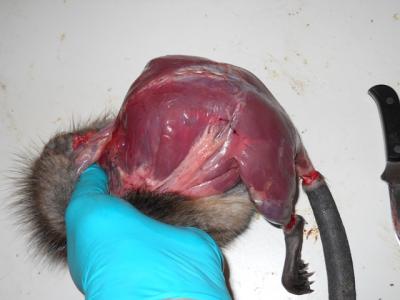
4. I turn the rat over with its belly down. I turn the loose hide over and grip the hind legs in my hands. With my thumbs to the center along its back, I separate the hide with my thumbs from the base of the tail to the shoulders. By moving my thumbs back and forth as I go, I am separating the hide to about the middle of the rib cage on both sides. With my finger tips, I turn the head and front legs inward and force the pelt to begin and “in-side-out” motion. As I pull the pelt back out straight, I have the head, front shoulders and belly still connected.
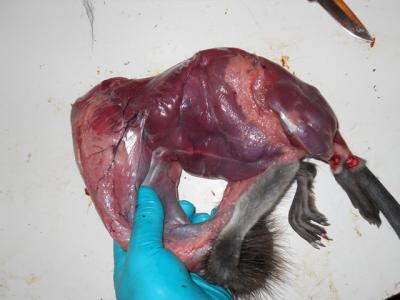
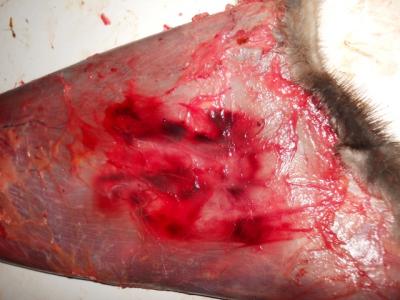
5. I gently peel the hide from the belly flesh as to not tear into the inners. Once the belly is separated, I pull the pelt forward to begin exposure to the shoulders. Rats have main arteries on the under side of their front legs. A little care in placing your finger will save a lot of cleaning. I work each front leg through and cut at the pad. After freeing both front legs, I gently pull the pelt forward again to pull the pelt down over the neck.
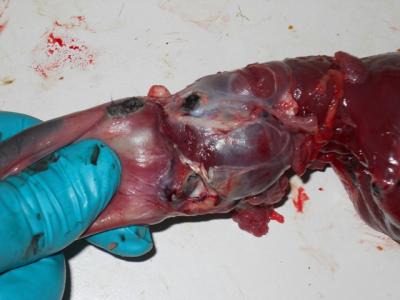
6. I prefer to “clean-skin” the head as I go Forward. At this time, you will see the white cartilage of the ears. With my small knife, I carefully scrape the ear area, under jaw, and other fleshy areas of the head. I cut the ear cartilage close to the skull. With another pull forward of the pelt, the eye sockets are more visible. Following the contour of the skull, make very small cuts at the eyes and follow down to free the sides of the mouth cavity. With an additional pull, the mouth is very visible. I pull the lower jaw through, and pull again on the pelt. This will bring you to the nose, tendons, and upper jaw. The tendons for the whiskers are very white and simply cut around each side of the jaw. From the top of the snout, cut down just far enough to free the nose cartilage, and gently pull the front teeth through and your half way done.
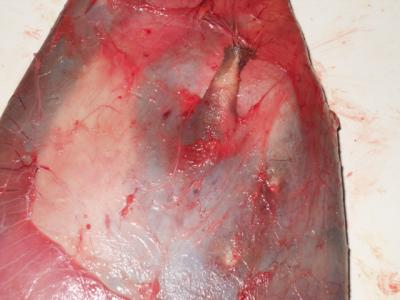
7. I use an old wooden rat stretcher as my scraping board. Fur in, I slide my pelt on the board. I touch up any scraping that I need to do on the head. Next, I scrape the fat from each of the front shoulder areas. For the front legs, you want to scrape from the saddle to the front leg hole. It is NOT necessary to remove 100% of the flesh. You do, however, want to remove all the fat. Becareful not to cut through the pelt, as this area tends to be thinner/softer skin.
8. After removing the fat from the shoulders, begin scraping from the mid section to the bottom of the pelt. Again, it is not necessary to remove all the flesh from the saddle. You are only removing the flat and excess flesh. A detail many buyers will look for is the last 1/2″. The fat and connecting tissue here is the toughest. Spend an extra minute scraping this clean, and you will get better respect form your buyer.
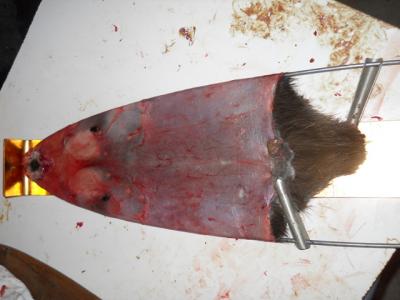
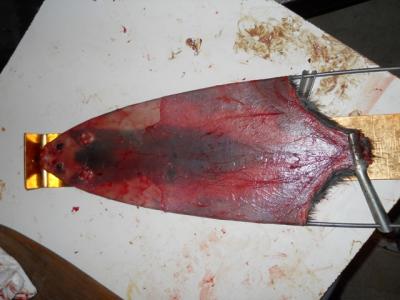
9. Place on your stretcher. The great debate “wood or wire”. After talking to many different buyers, the concern is over/under stretching. For myself, I like wire. I grip the wire stretcher and squeeze the sides together while I insert it into the pelt. After adjusting the pelt to be straight, I connect the tail (longer) side first. As I mentioned earlier, by leaving some of the tough skin of the tail, you can puncture the skin with the wire holders. Slide down until taunt – NOT TOO TIGHT. Then I do the belly side which is shorter. I run my hand down from the nose to past the mid section a couple of times to make sure I have even pressure on the pelt. Each time adjusting the wire holders on the sides downward to remove any slack.
10. Finally, I look at the final appearance. If the pelt is early (not quite prime as in the case of the example pics) I back off the holders a little bite. By slightly under stretching it, I don’t expose the hair roots as much. In this case, if I fully stretched the pelt, the stress on the hair roots would be magnified and reduce the value of the pelt.
Hang up out of direct sunlight and allow to dry. Do not apply excessive heat or direct blowing air to accelerate the drying process.
I’m not a fur buyer, nor do I claim to be an expert on grading. That’s an art within itself and takes MANY years to perfect. But I do believe every trapper should know and understand the true value of his/her product. Generally, you’ll see the buyer blow into the tail section of the hair. They are looking at the density of the under hair, as well as the grade of the longer guard hair. Younger, smaller rats will have a nice density of under hair, but the guard hair is less dense and doesn’t have that “full prime look”. This is a major cause of a lower grade. Very dark skin color will give a perception of not being fully prime. Other animal bites, cut pelts, crooked stretchers, and many other factors go into grading and has a huge impact on the final $$$$.


 Sure wish I had that car now.