Not having ice for some of the last month has put my winter project into hyper drive. My ’99 1650 fishawk was getting soft in the top deck. I considered a newer boat but I cant stomach the newer prices. I decided what I have is all I really need so let the interior make over begin!
IDO » Community » Forums » Fishing Forums » Toys for Big Boys » Outdoor Gear Forum » The big project
The big project
-
December 18, 2015 at 5:43 am #1585712
Removing the livewell since it went under the deck and I dont have mini hands to remove the conection proved to be a little difficult. After the gas tank was removed that was the relatively easier.
December 18, 2015 at 5:46 am #1585715Any ideas on a new bottom deck? Stick with carpet or go rubberized?
December 18, 2015 at 5:49 am #1585718I plan on stripping each deck piece, buying the oproprtiate lumber and matching the cut out. Then take it to an upholstery shop
December 18, 2015 at 5:51 am #1585721I also plan on re-wiring what I can of the original lights, new gauges etc.
December 18, 2015 at 5:54 am #1585724My gas tank , livewell, bait well are all going to be reused. Any suggestions or ideas on anything is welcome!
December 18, 2015 at 5:57 am #1585725I am at the point were I can rip out the bottom deck soon. My console will stay though I need to support it before the bottom deck is removed. Once this is done I can start rebuilding it back up!
December 18, 2015 at 6:34 am #1585728Is all this being done solo? What a task! You will definitely have something to be proud of each time that you take her out on the water with a keen sense of accomplishment. Looking good. Keep us posted bigpike. Good luck.
December 18, 2015 at 6:51 am #1585731Is all this being done solo? .
Other than my dog licking the tire once on awhile I’m on my own. I am generally a thrifty person that likes building stuff. This project is shear fun for me. Also I have been considering this project for awhile as the boat has started showing its age. I fish big water once or twice a year with it so I want it right. Things like the gas guage and tack have been crapping out on me along with a softening deck and a leak from one of the hoses. All hoses and fittings to be replaced as needed also.
December 18, 2015 at 7:01 am #1585732That is a big task. Just remember to be very careful with the hot side of the wiring. You surely don’t want a short to happen when you get it all done.
Good job!!!December 18, 2015 at 7:07 am #1585734I hear you. Burned up a on board charger in spring hooking up my 24 volt system. Wont make that mistake again. I wire alot of manifolds, thermocouplers, and hot systems at work so this is in my pay grade
December 18, 2015 at 7:42 am #1585739One thing I would think about is running all wiring thru PVC pipe. This will make it much easier to remove or pull any new wire in the future. My buddy did that on his last deck project. He needed to pull some new wire several month later and it sure was a much easier job. Just a thought.
December 18, 2015 at 7:52 am #1585743Looks like a huge job…. and one when done, you will be very proud of. Good Luck! And share as it goes.
December 18, 2015 at 8:13 am #1585745
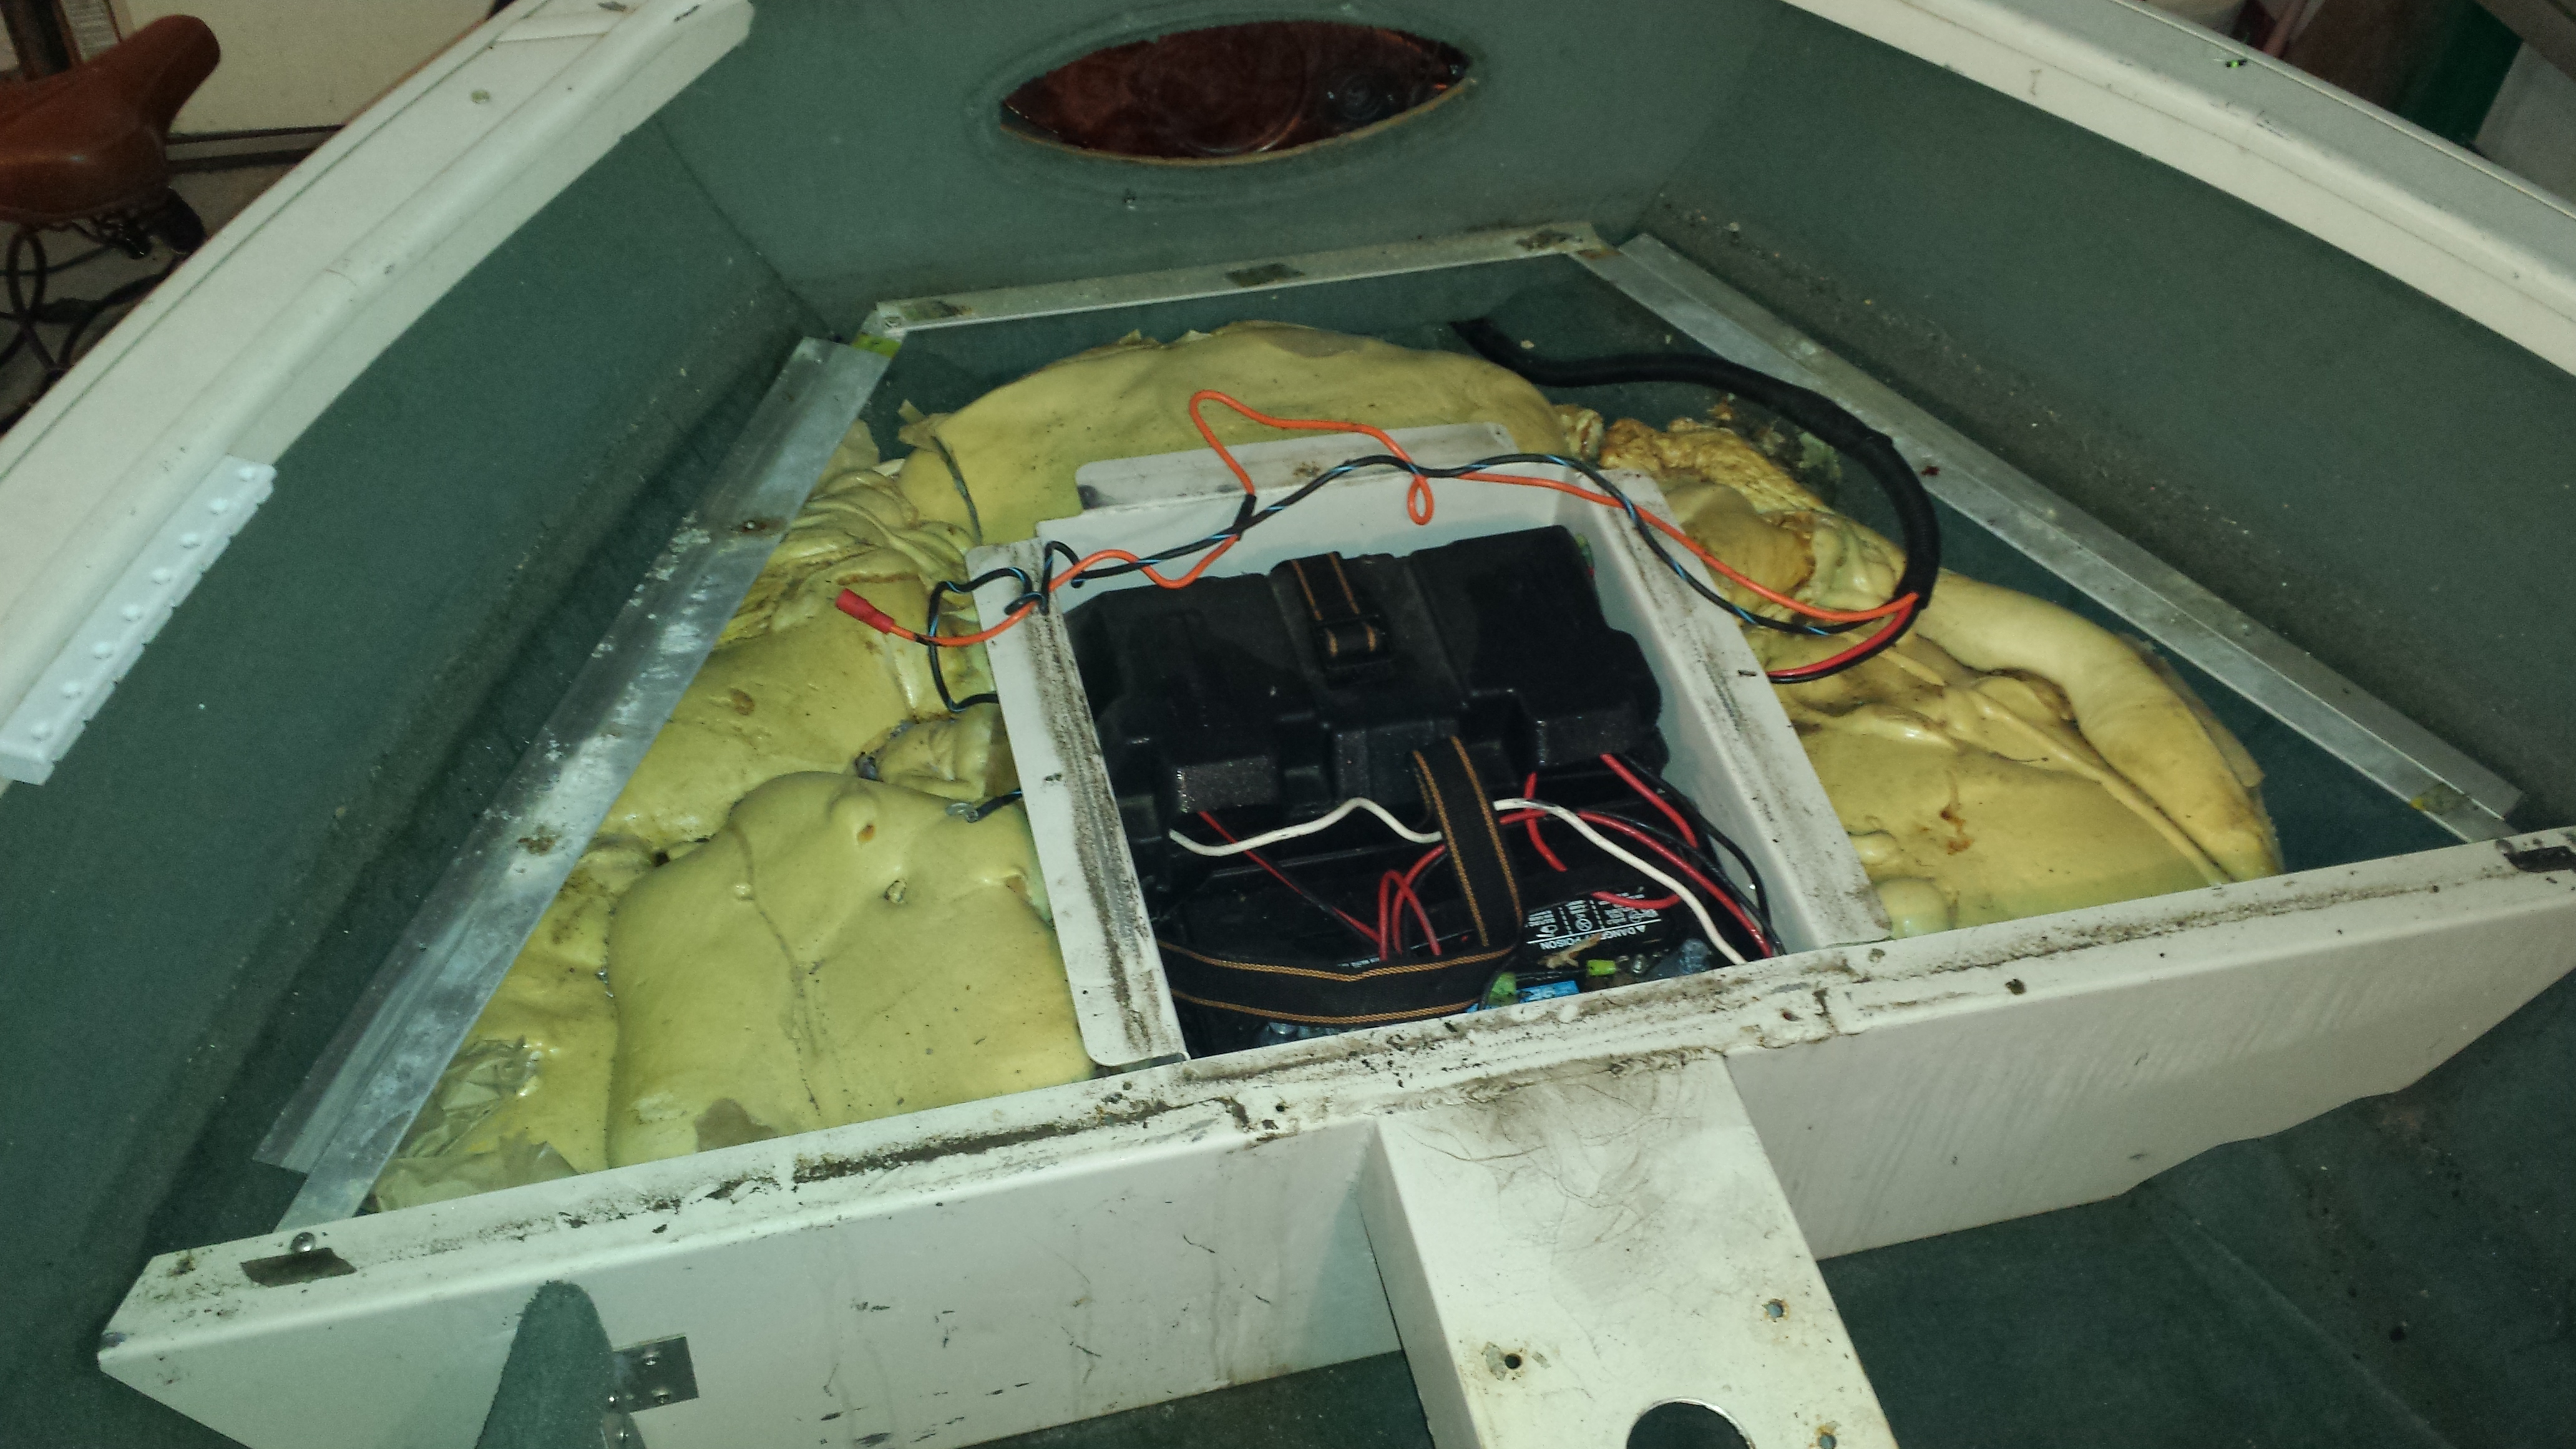
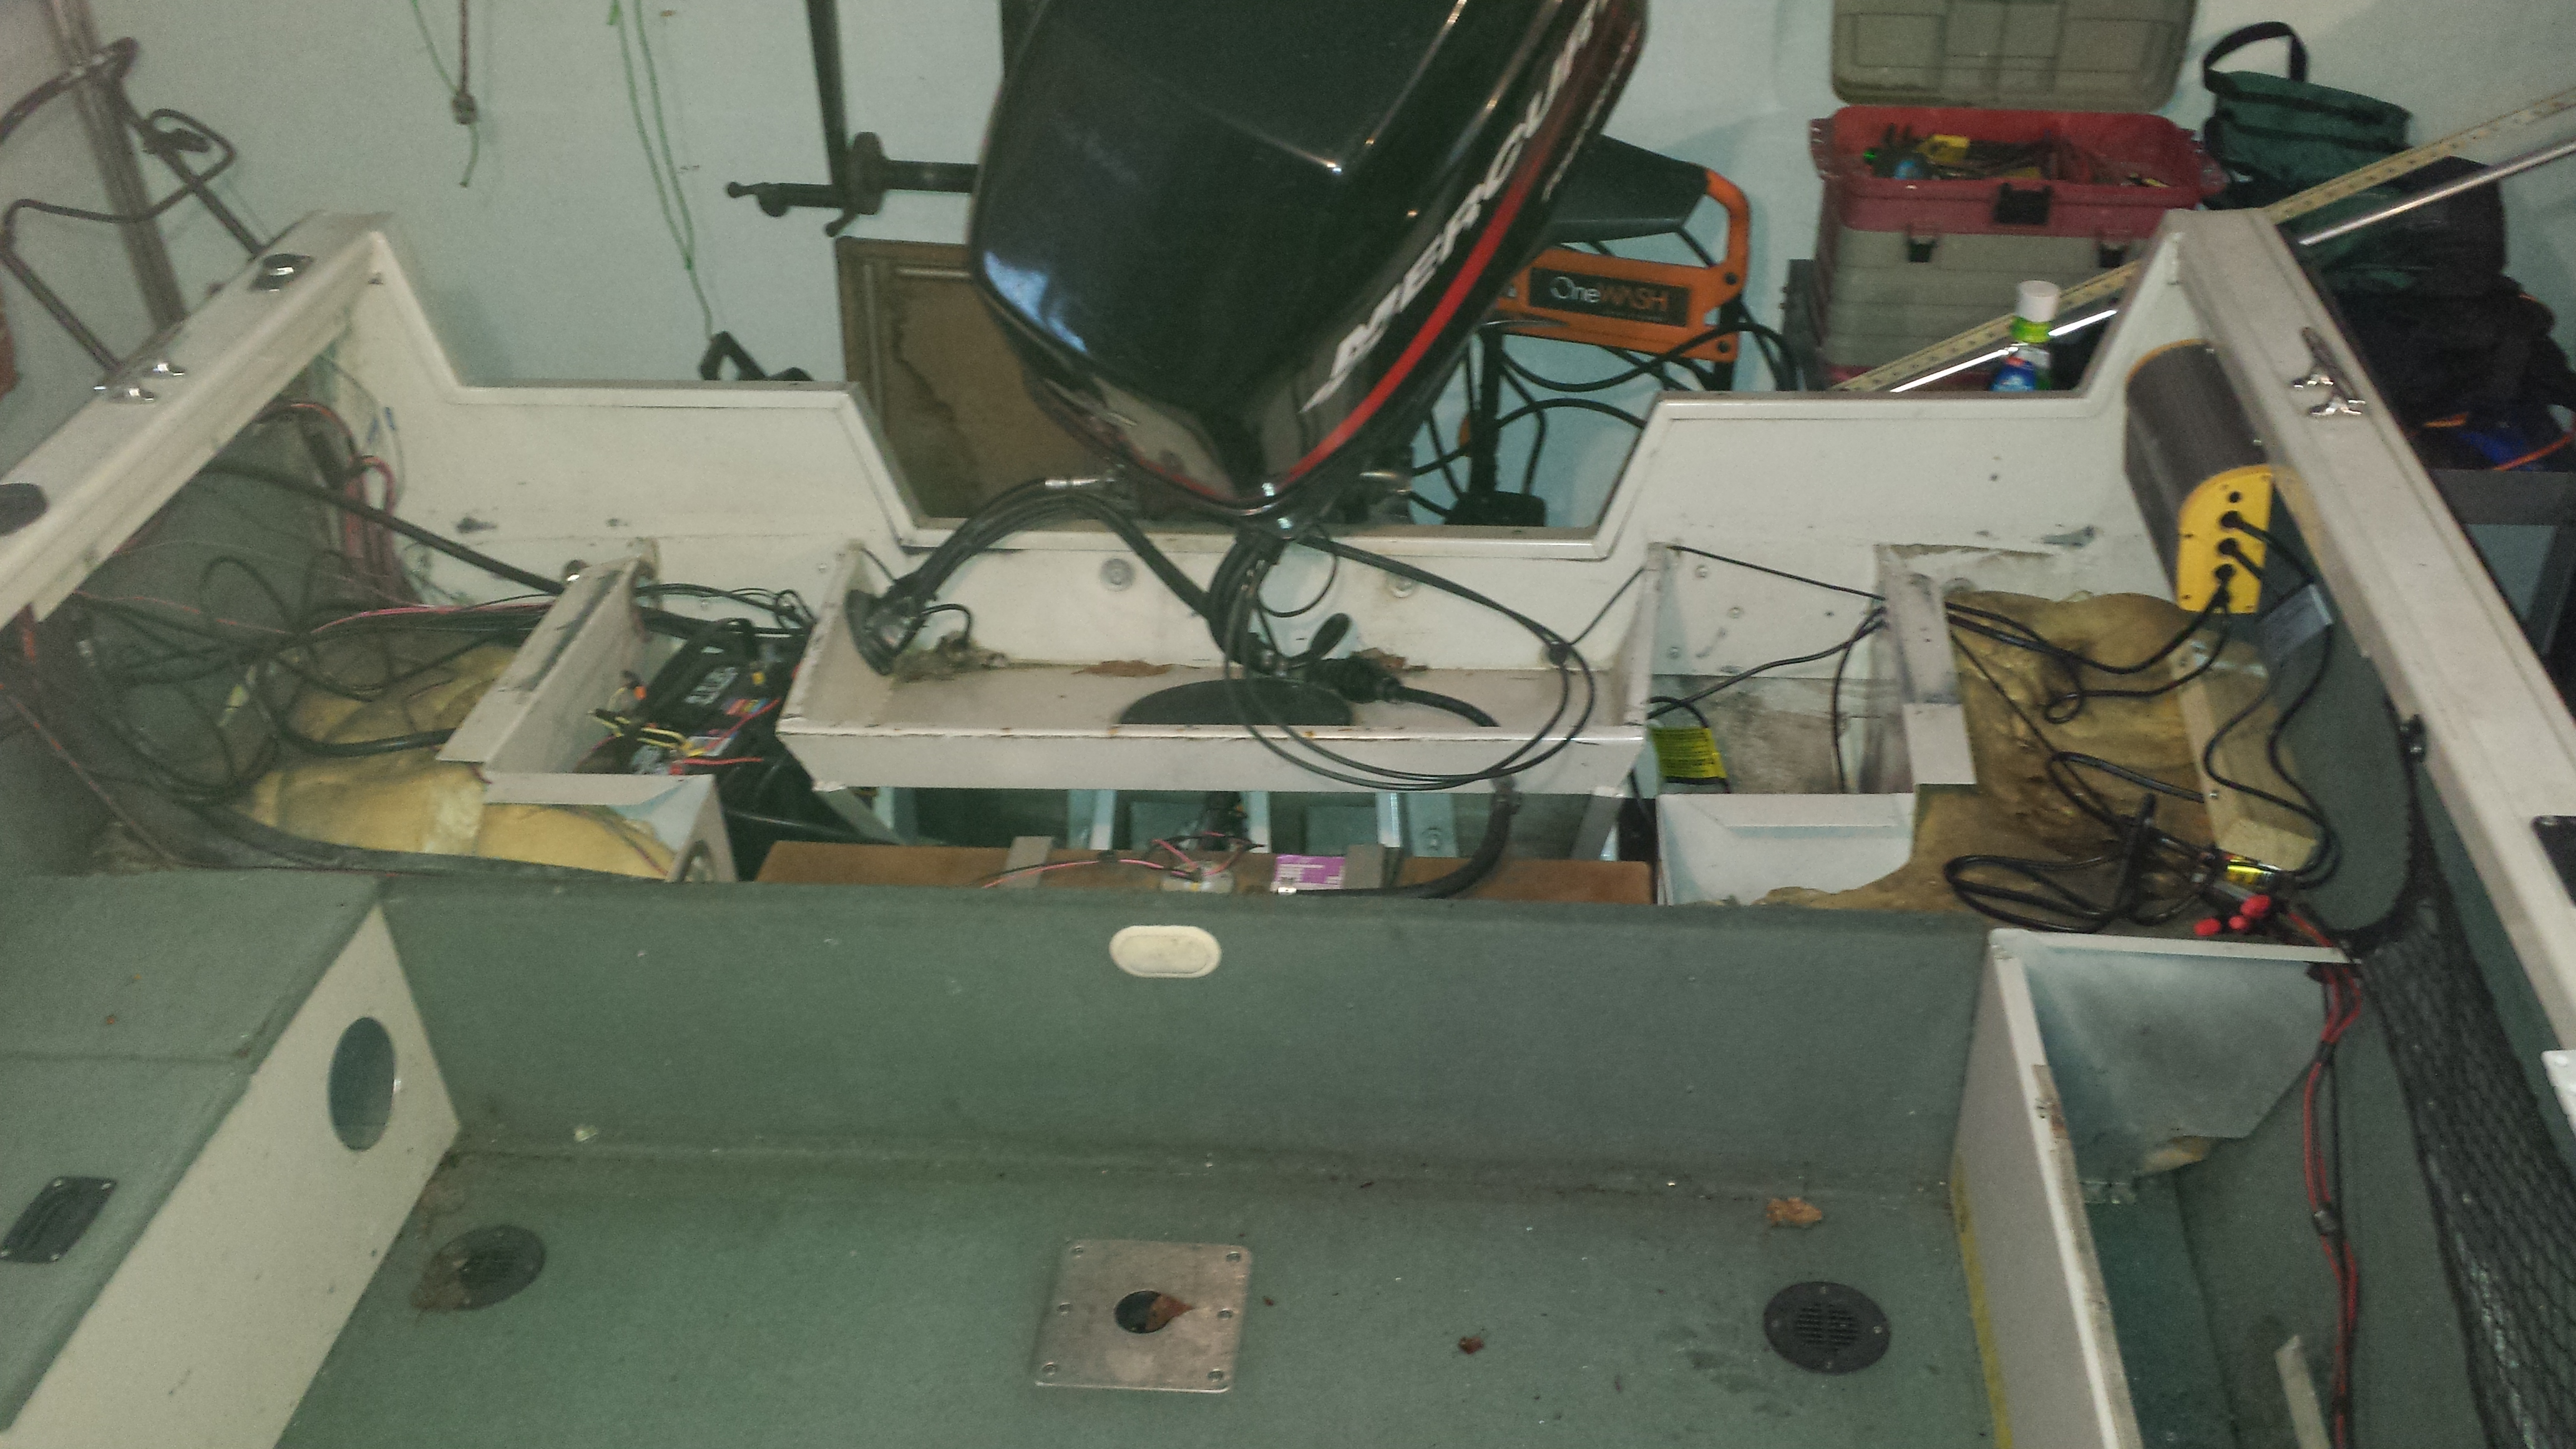
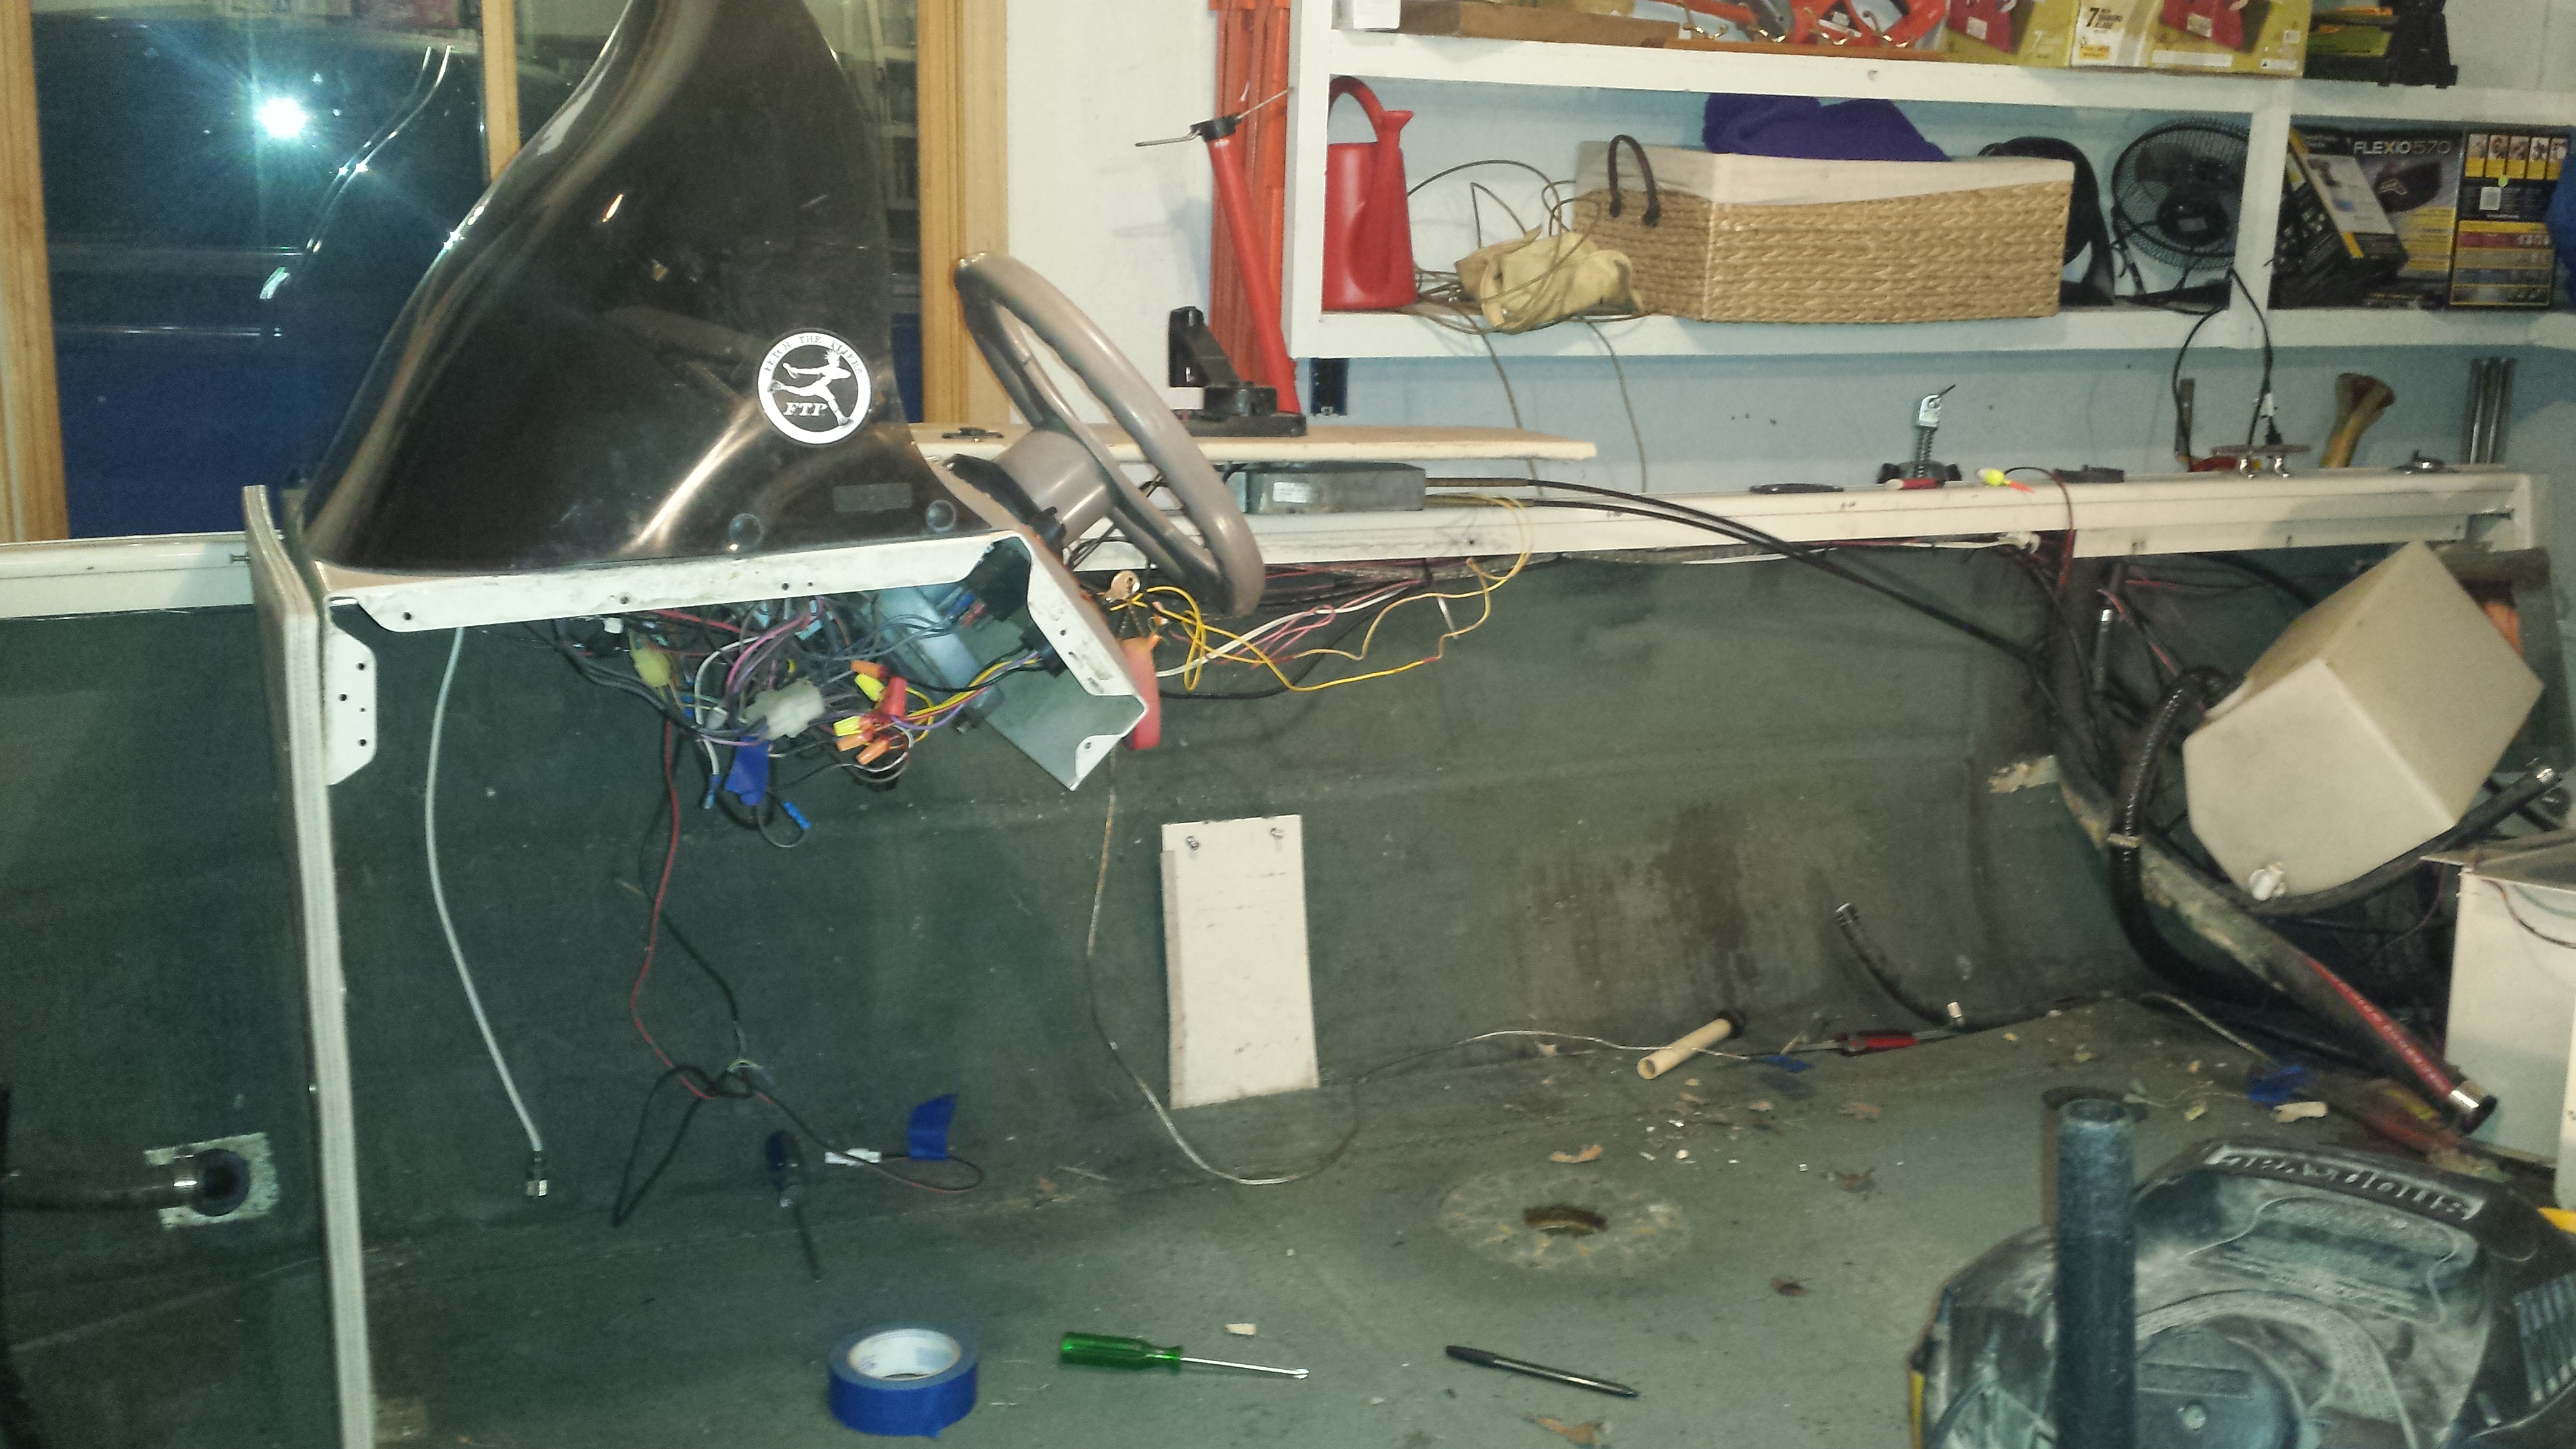
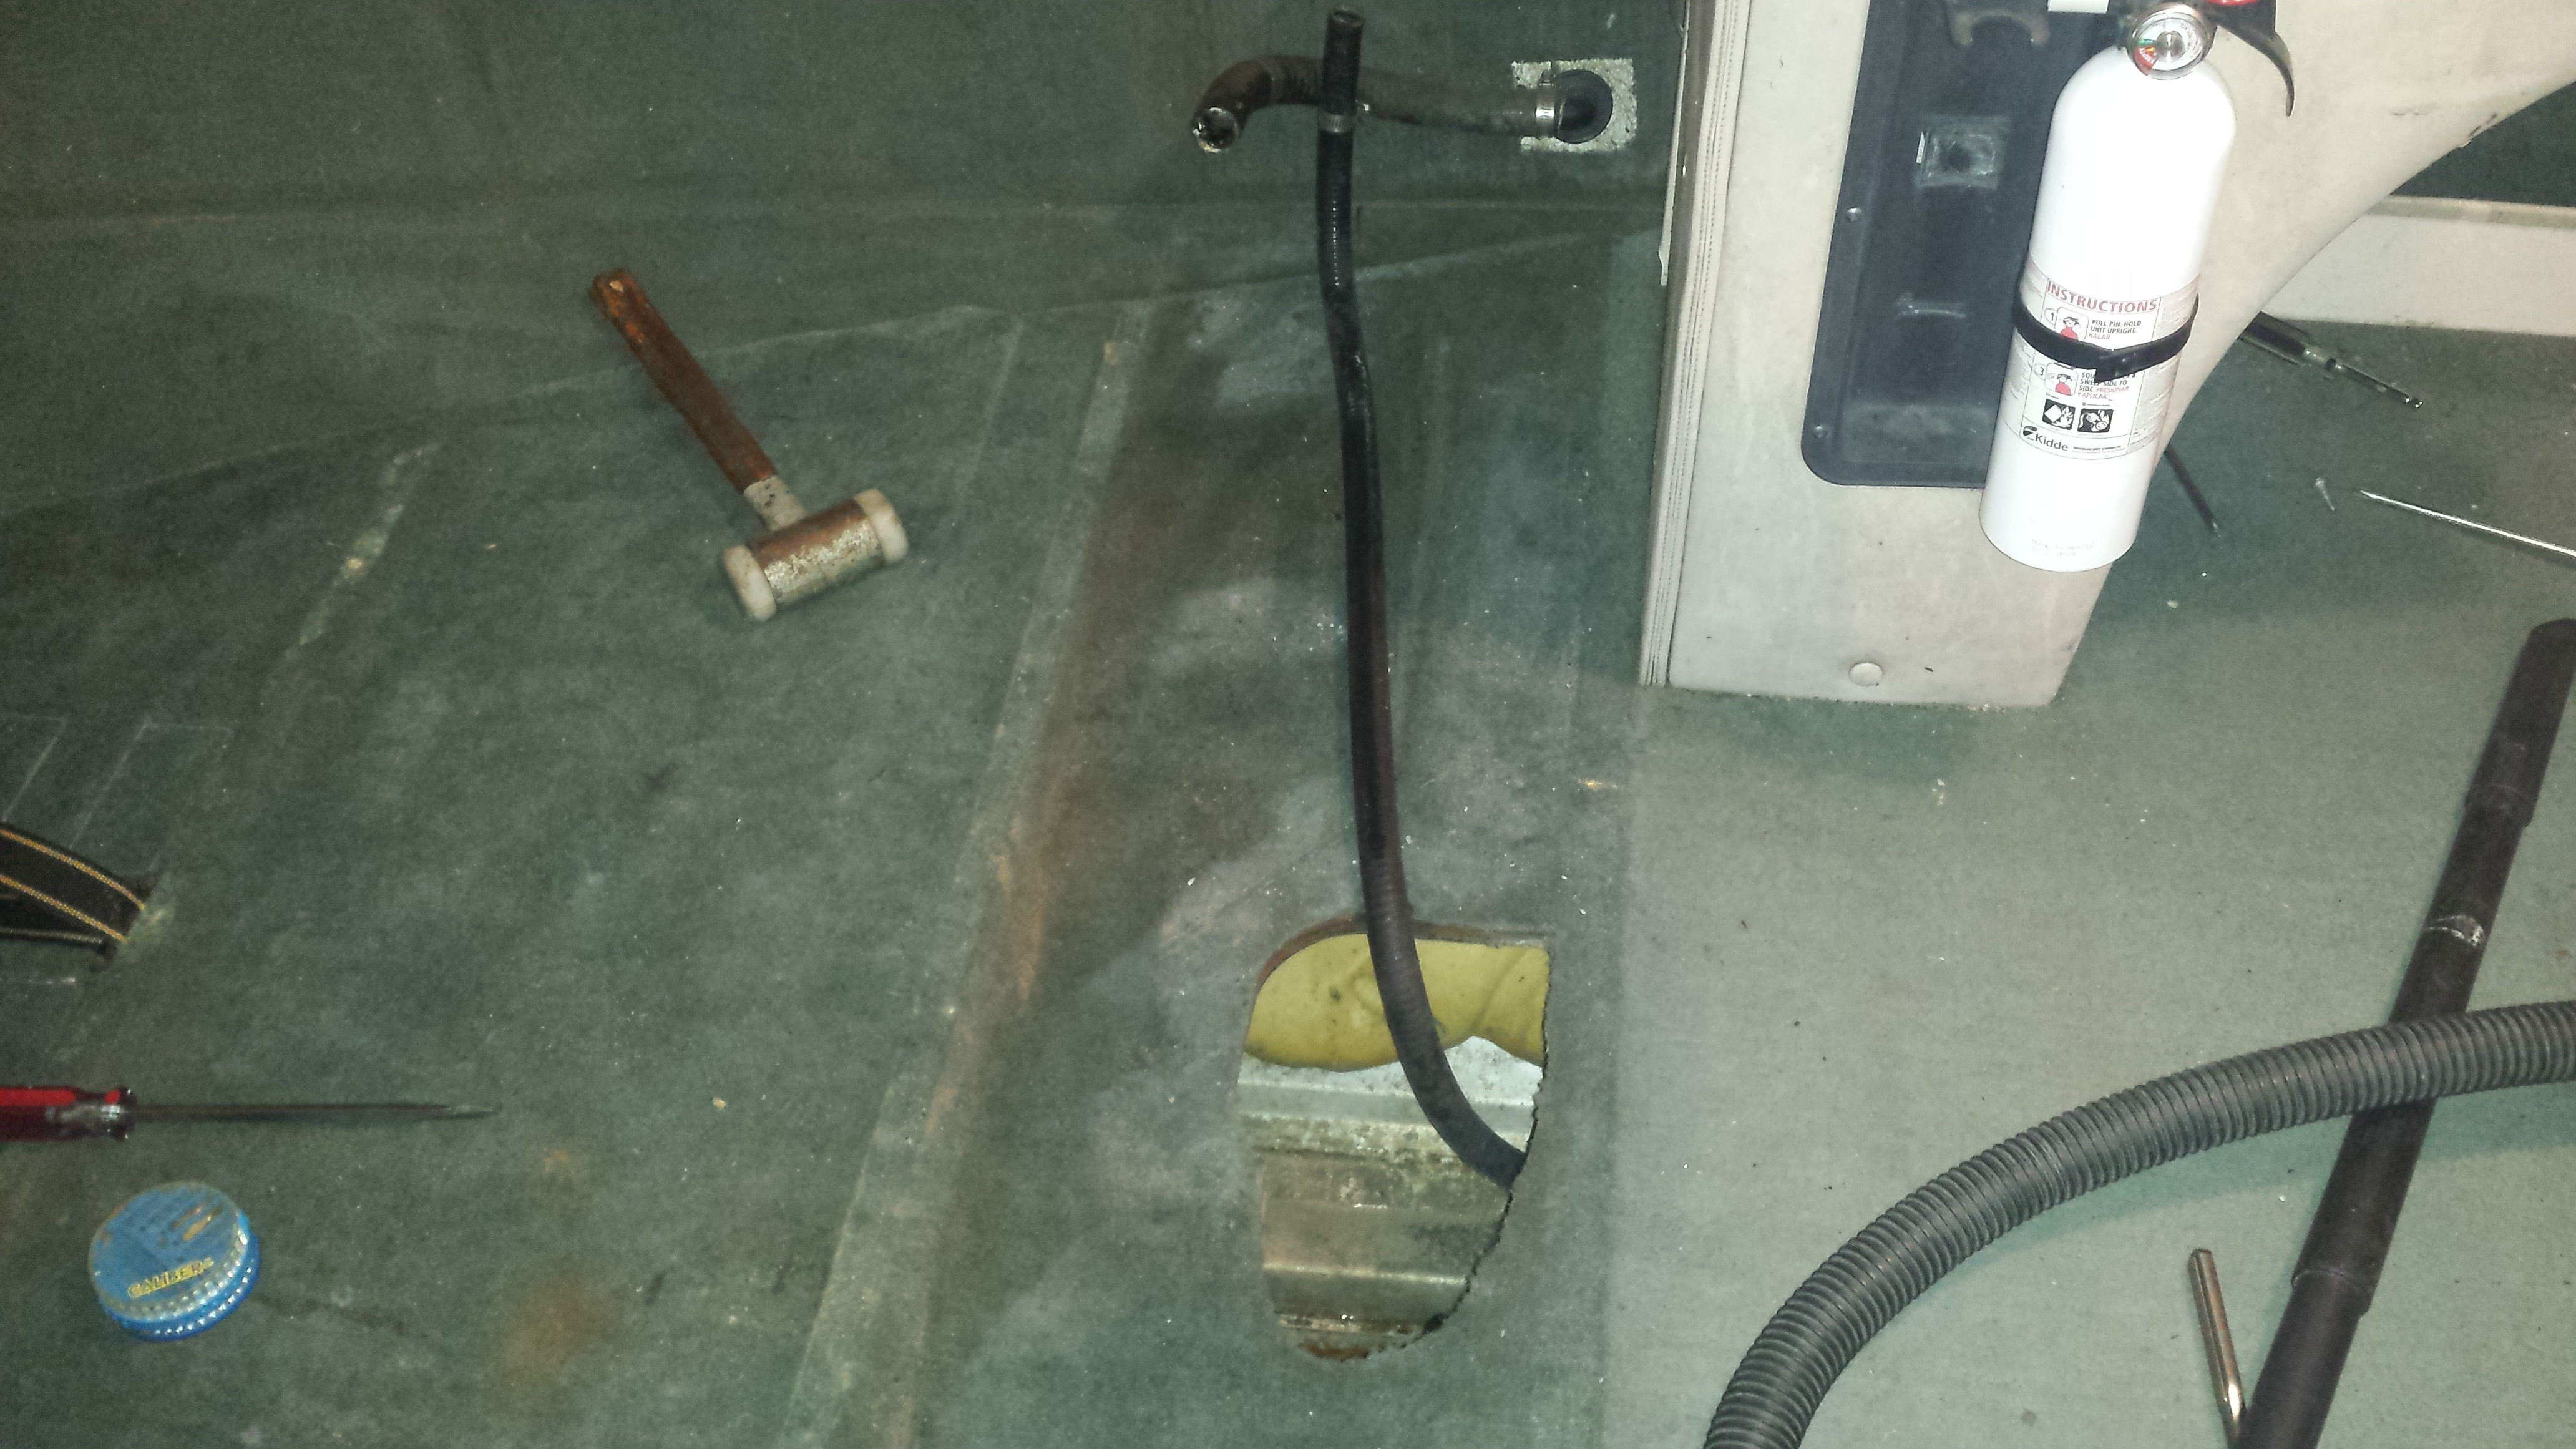
Bigpike,I know all about of what your up against on your project, I have done several redo’s for others and myself, One thing that helped me was to take alot pictures and I also used 3M 12174 Wire Marker Tape on all wires to help with reinstall on electrical system,I also made a log/schematic of all wires for any future add-ons or issues.I also updated some of the wires and even a couple fuse panels so it made it easier to add on other items such as interior lighting strips ect.
If doing any wire repairs/add-ons …ALWAYS solder and heat shrink !
This is the time to add any charging ports for cell phones or spot lights,you can find weather proof ports on the internet.
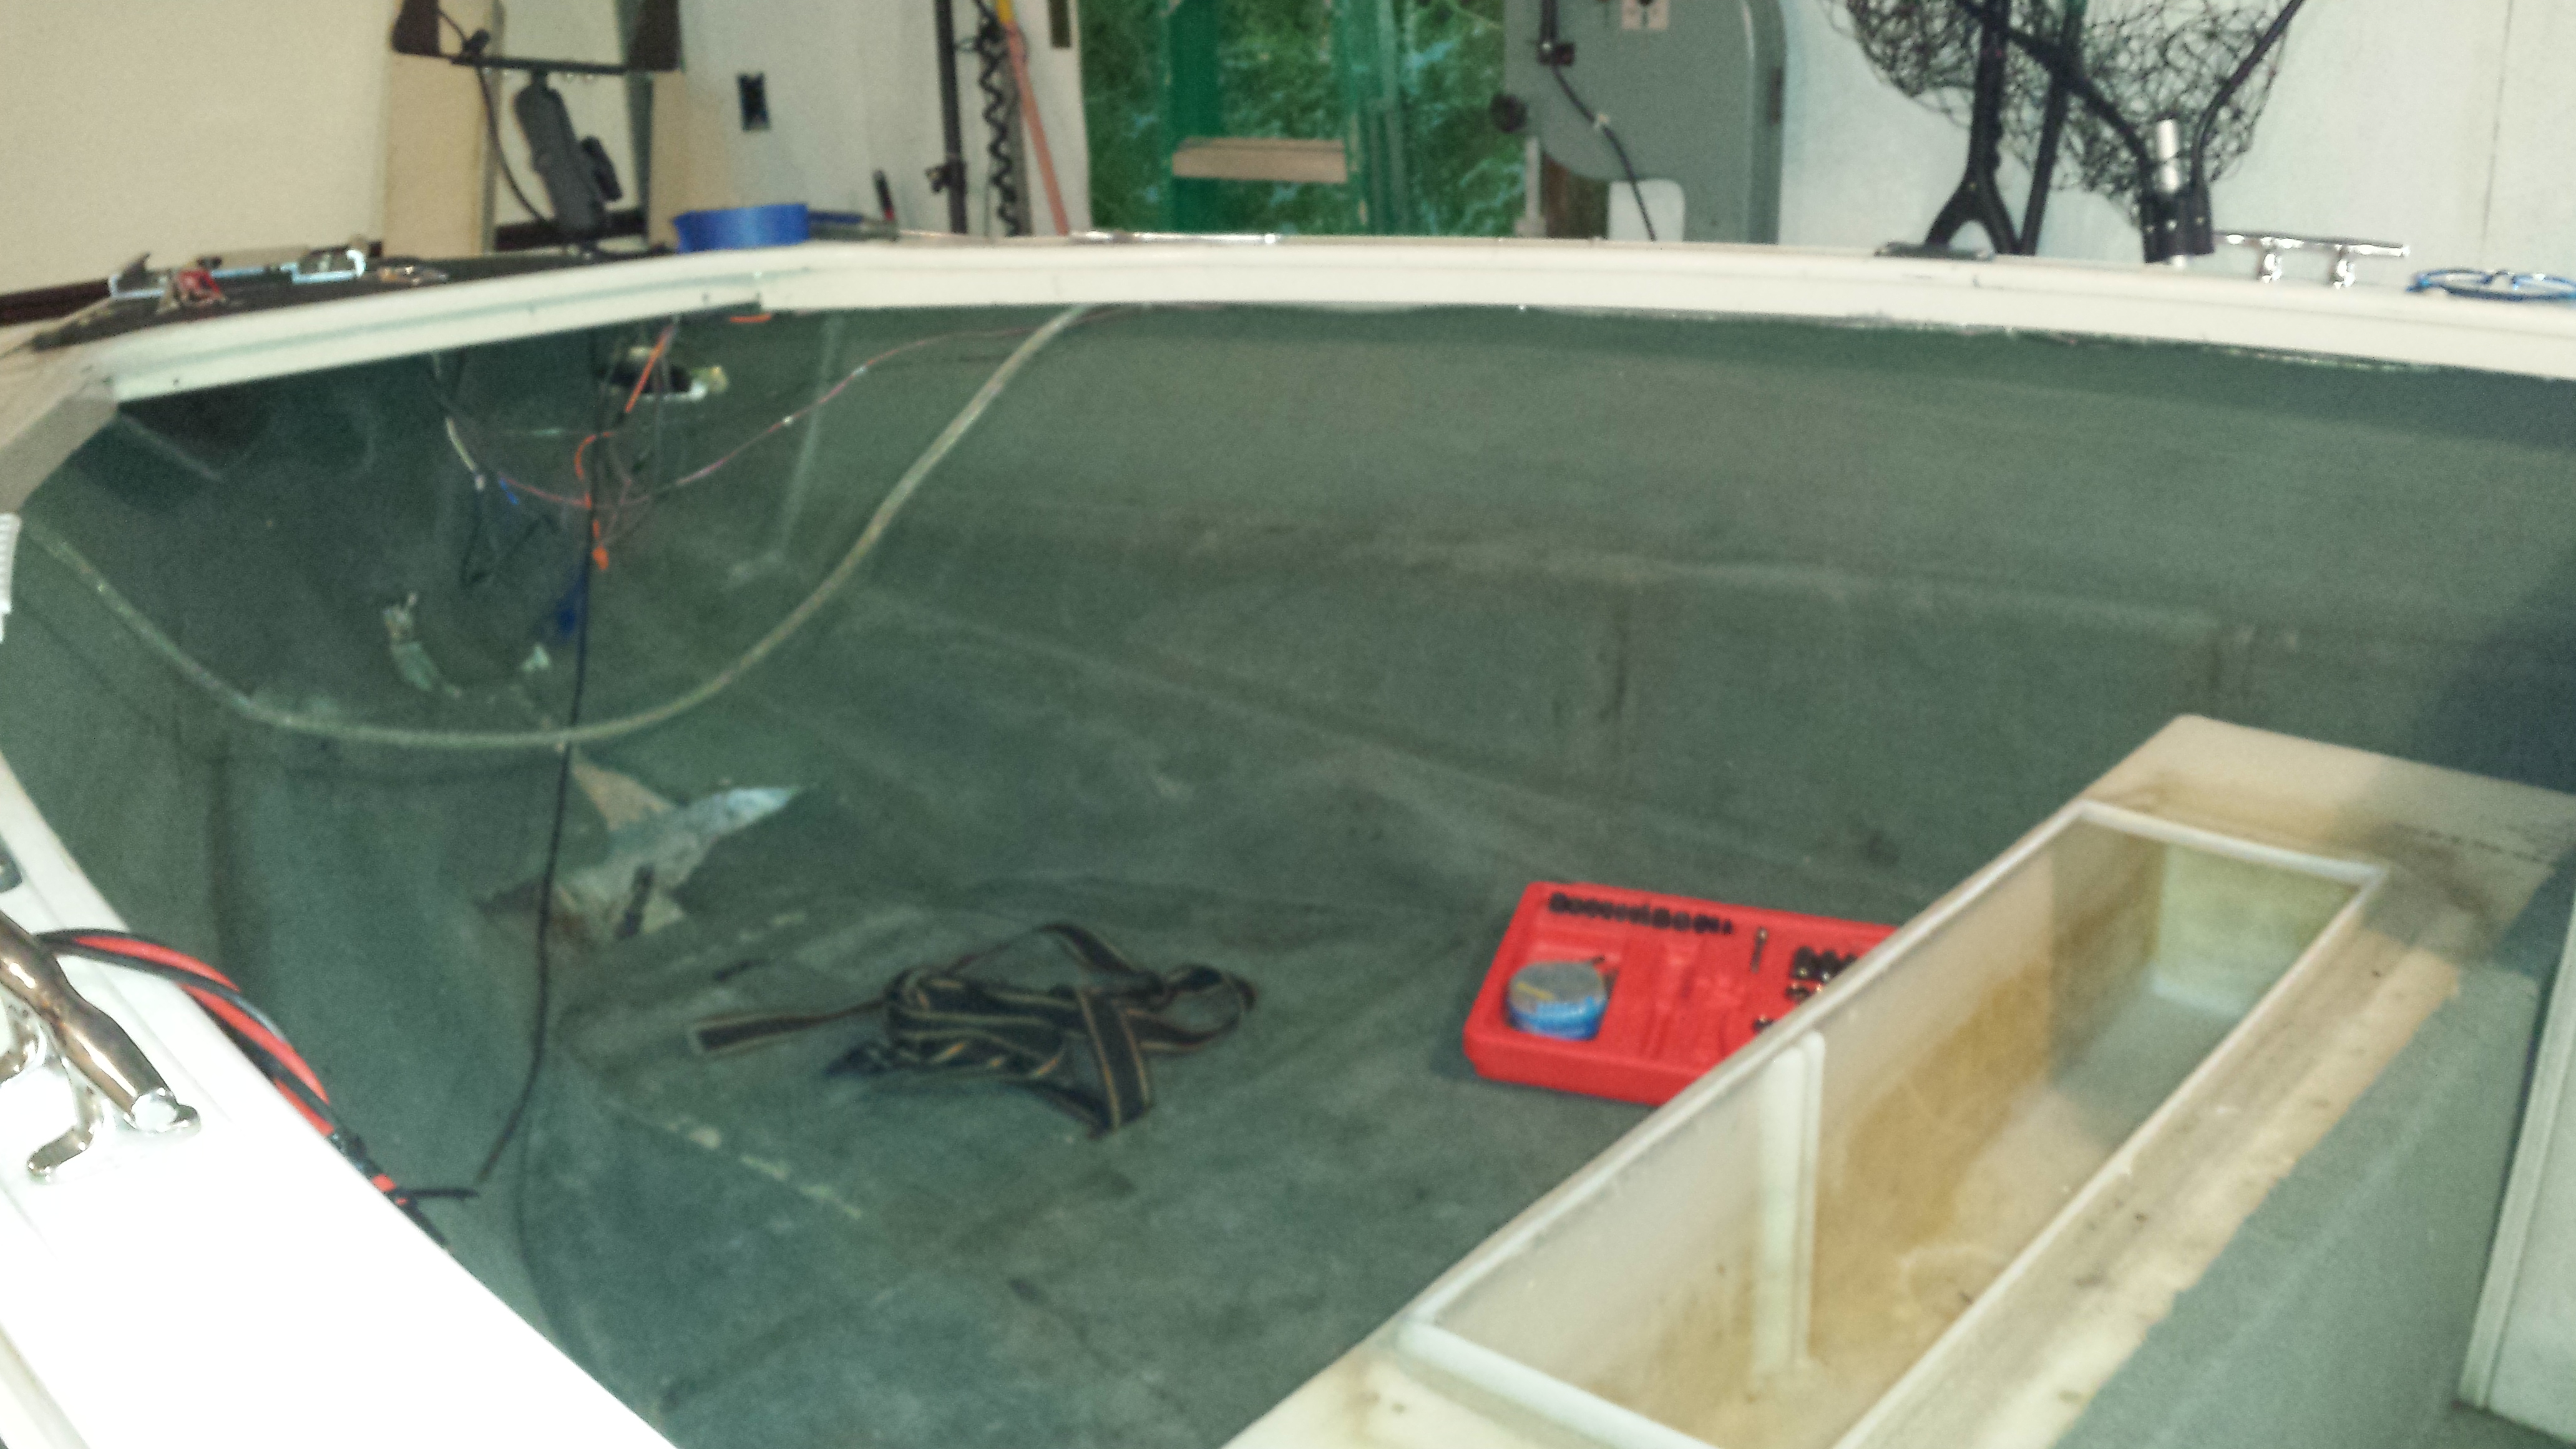
As you may already know ….Use marine grade plywood and carpet glue.
Last but not least…measure twice and cut once !
Looking forward to see the finished project.
December 18, 2015 at 8:18 am #1585747For carpet, I’ve bought a lot through Pontoon Stuff .com and have been extremely happy with their customer service. In about 10 years of buying from them, I had 1 bad experience of a bucket of bad glue. They went WAY above and beyond to make it right for me.
If you have anything that brings you down to the Milwaukee area, Kendor is a great place for Misc hardware and accessory items. Prices are ok, cheap on somethings and over priced on others. But over-all, for a huge assortment of stainless parts, wiring harnesses, guages, marine plumbing….they have a lot
December 18, 2015 at 12:32 pm #1585803I used the old wood parts as templates for pre-drilling the new pieces.
Then align the new piece using all your philips head screwdrivers, etc. before setting any rivets or screws.
And ensure that all the fasteners you use are compatible with the attachment points. You don’t want any galvanizing to occur.December 18, 2015 at 5:14 pm #1585900I am at the point were I can rip out the bottom deck soon. My console will stay though I need to support it before the bottom deck is removed. Once this is done I can start rebuilding it back up!
Can you tie a rope to the steering wheel and hang the console from the rafters?
December 18, 2015 at 5:48 pm #1585903Make sure to not use treated plywood!! It can have a chemical reaction with the aluminum. I wood pony up and use marine plywood so it does not happen again for many years. Also read Eyekatcher post on screws etc . Do not ask how I know these things? LOL
tried going cheap and ended redoing again
Mwal
December 18, 2015 at 7:10 pm #1585914Thank you guys for all the tips, I was hoping for this input. I only want this “big project” done once. Keep them coming as this is a major work in progress. Tearing out is relatively easy compared to building it back up correctly.
January 4, 2016 at 12:30 pm #1589604Make sure to not use treated plywood!! It can have a chemical reaction with the aluminum. I wood pony up and use marine plywood so it does not happen again for many years
I believe this is partially correct. Do NOT use treated ply wood. Marine plywood is a good choice for it’s structural integrity but not because it will resist rot. Treat the lumber with something before installing. I chose to put a couple coats of Thompson’s Water Seal on mine. Others I’ve talked to have put a different seal on it like clear coat varnish. That’s probably better but I found out after I had my boards back in.
Smaller boat, smaller project two winters back but same principle. My pics are somewhere buried in the Alumacraft forum. From my experience you’ve doing things the right way.
January 4, 2016 at 2:24 pm #1589648When I replaced all the flooring in my Crestliner several years ago, I took the opportunity to replace all the fuel, livewell and baitwell lines. I figured that since they were already exposed, why take the risk of them going bad in the future, creating a need for tearing it all out again.
You may want to consider pulling up the floor and doing this. It may not be necessary, but it sure gave me piece of mind.
March 5, 2016 at 2:42 pm #1604572At the bottom of the project so to speak. I am replacing my fittings on the transom and running new hose back to both wells. How do I get them off? The new one measures 1 and 17/32 the nut in the picture measures 1 and 25/32. With a caliper. The nuts are in a pretty tight spot with the transom support on top of it. I can machine a tool to make it work but there has too be an easier way.
March 5, 2016 at 4:58 pm #1604584Couple of ideas. Try turning the barbed end with some channel locks while holding the nut with another pair of channel locks. Or, if the fitting are going, cut the nut off with a Dremel wheel.
March 6, 2016 at 6:40 am #1604632BINGO, I will just cut it or grind it out. Its only plastic, Thanks. I need to get it in gear! I have purchased nearly everything though a few of my purchases will need to be exchanged. The big push is on. I am giving myself until April 14 to finish.
March 6, 2016 at 8:16 am #1604637I used two coats of marine spar varnish both sides of marine plywood.
March 6, 2016 at 9:07 am #1604645I used two coats of marine spar varnish both sides of marine plywood.
And the glue had no issues sticking to this? Its a obvious answer but I have concerns
nhamm
InactiveRobbinsdalePosts: 7348March 6, 2016 at 9:34 am #1604653Most intrusion of water on ply starts at the edges then the face. It’s recommended to precut, then predrill all holes, then seal to lock up those edges.
March 6, 2016 at 10:21 am #1604663I noticed my main deck was 3/4 but my casting deck was 1/2. All my deck issues were the casting deck. Guess what size I am using for my casting deck?
March 6, 2016 at 11:24 am #1604674Marine ply is best, but regular ply will do. If you are going to go light on the sealer (meaning, anything but the next paragraph), go with marine ply. And honestly, I’d encourage you to go with marine ply in any case. It’s simply quite a bit stronger and less likely to rot because it has fewer voids in the plys.
The best way to seal the deck is to use fiberglass resin. You can get poly resin at Home Depot, etc. Epoxy resin is more expensive and not really necessary for this type of project. For added strength, embed a fiberglass mat down on the top of the deck in the resin. Some will say to seal only the top so it can dry from the bottom. In my experience, it’s best to seal both sides and then make sure any penetrations (screw holes) are completely sealed. The only reason I can think to do it differently (seal only one side) is if you store the boat outside. Carpet glue (use weldwood cement or 3M high strength 90) sticks beautifully. If you seal both sides wiith multiple coats (be sure you don’t allow the resin to cure between coats, and sand lightly/wipe with acetone before second coat) and embed a fiberglass mat you’ll have a crazy strong deck — no sag.
Bassboatcentral.net has an awesome bassboat restoration forum where you’ll find tons of info.
March 6, 2016 at 4:06 pm #1604708Not sure what you mean by obvious.
There were no problems with the carpet adhesive sticking.
All areas that were glued (E.G. the new 8 foot rod locker in the floor)
were glued during assembly and prior to the spar varnish.
You must be logged in to reply to this topic.