5 Shots You Need to Master This Archery Season
Any bow hunter will tell you it takes consistent and dedicated practice in the months leading up to the season to consistently and ethically harvest a deer. My prep for the hunting season includes spending considerable time at the range and in the field fine tuning my mechanics, not only because I feel this repetition is critical to ensuring a clean, quick kill, but I also invest this time for a more basic reason – I enjoy doing it. When it comes time to loose that arrow at my target I want to feel confident in my ability to put that arrow exactly where it needs to be. And that confidence comes from repetition. But repetition alone won’t get you to where you need to be. You need to be practicing the right shots. It is a bit of an irony that for bow hunters the single most practiced shot is the classic broadside – the shot where a thick-necked buck with a massive rack slowly walks in to the shooting lane, stops at 20 yards and presents it’s vitals as if to say “take me now!” The truth is this scenario has never actually happened to me. Or at least not exactly like that. Yet in the past I’ve been guilty of practicing that one single shot over, and over, and over again. In talking with fellow bow hunters I’ve come to conclude that if we only harvested deer that offered up the classic broad side shot we’d all be eating a whole lot more chicken in the off-season than we’d like to admit. To be consistently successful in the deer stand here are 5 common shots you’ll need nail in the off-season to change your next hunting story from the one who got away to the one on your wall.
1 . Contortionist
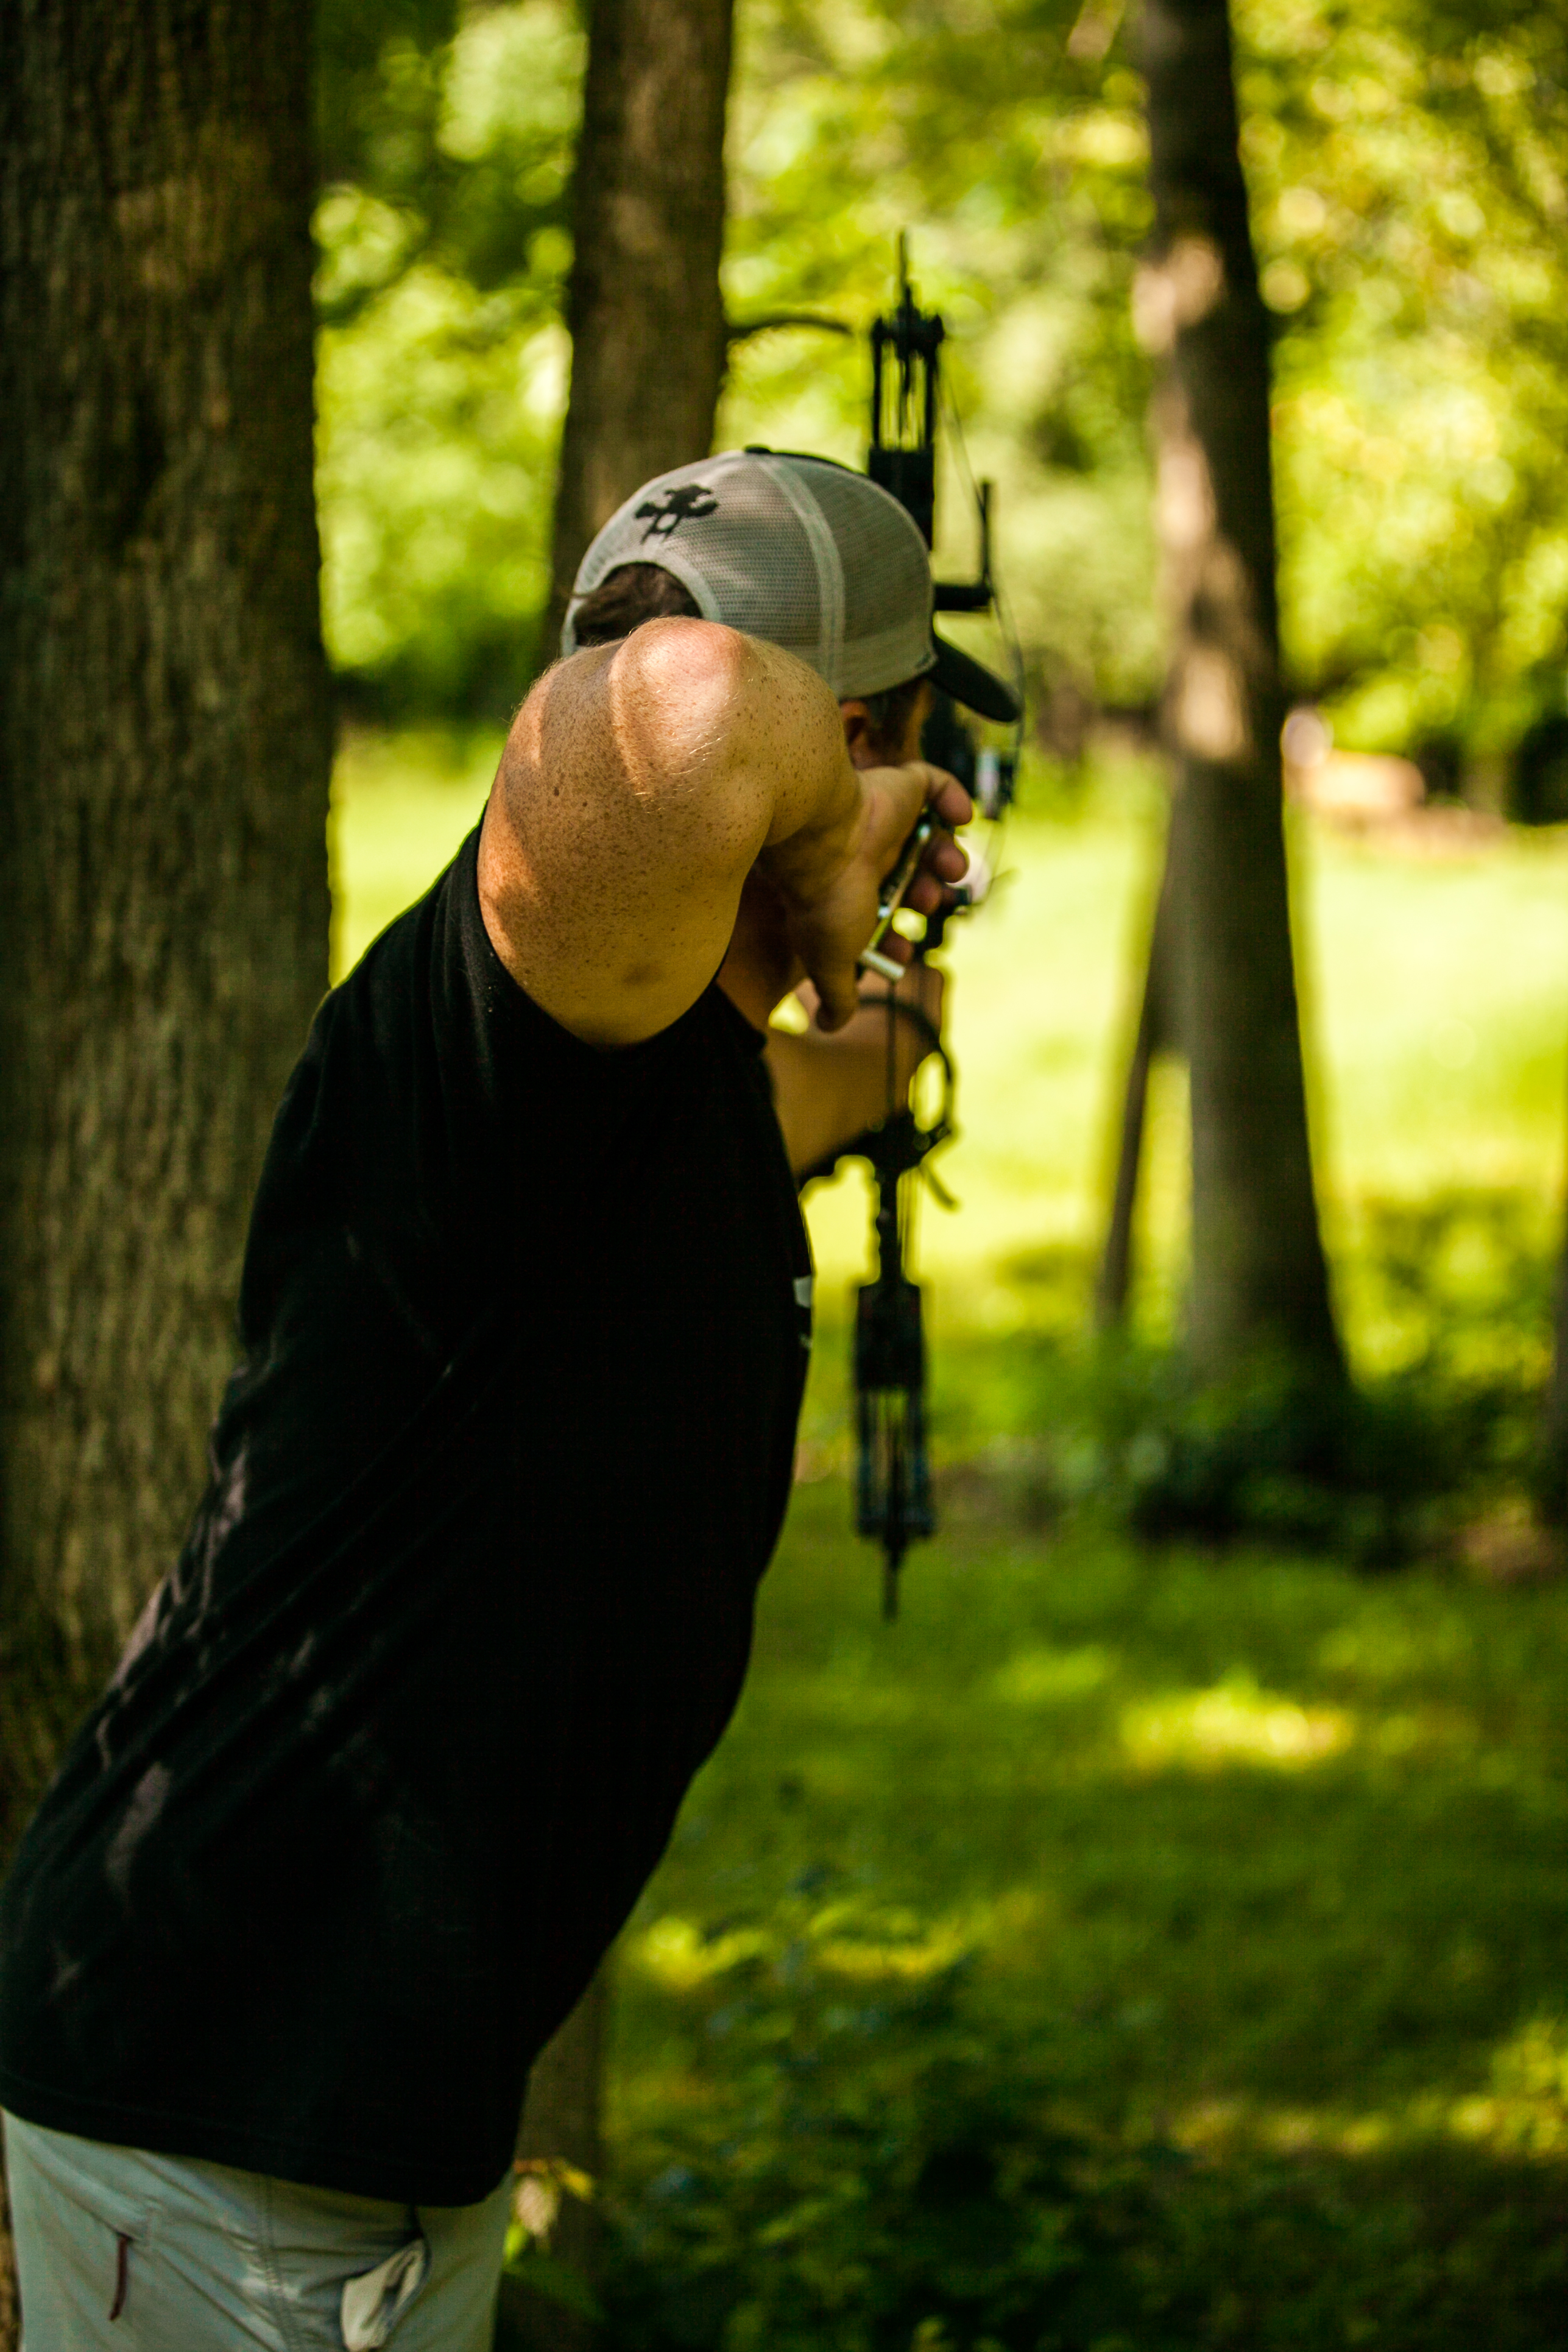 This shot cost me a nice buck in late October in Southwestern Wisconsin last year, and the situation could have been easily avoided with a little practice. A buck came in from behind me walking parallel at 15 yards. Just as he’s about to offer me a good shot, boom, he hangs up behind a very small but precisely placed tangle of dense brush about 5 yards from the base of my tree. I opted to wait for the deer to make two more steps that would bring him out from behind his cover instead of giving any serious consideration to other options. But this big deer had luck on his side this day. Instead of moving out from behind the brush this deer spent several minutes browsing acorns behind the protection of that little tangle before the wind swirled, my scent caught his nostrils, and his head snapped to attention. In an instant the gig was up and this deer that had spent what felt like an eternity calmly feeding 15 feet from my stand could now be seen heading over a nearby rise before disappearing for good in the underbrush. When this deer first made it’s appearance I didn’t think I could contort my body to shoot around the tangle of brush and get a clean shot. I was wrong. After I allowed my nerves to settle down I decided to replay the situation to see what I could have done differently. I drew back, bent at the waist, hung horizontally over the edge of my stand, and took in the shoot through my sight. This new angle revealed a clean shooting lane to the exact spot where the deer had stood minutes earlier and my need to add a new shot to my practice regiment. The remedy for this particular scenario took adding some creativity to my shot list. The first part begins at the range. As part of all practice sessions I will bend at the waist and lean both forward and backwards trying to emulate shooting around an obstacle. Not only will I lean and shoot, but I will try to hold the shot for 30 seconds before I release the arrow, giving me the confidence, and strength to hold position while a deer makes the last fatal step. The second part happens in the tree. Imagining possible shots, I’ll draw and lean over each side of the stand trying to pick out previously unseen shooting lanes and angles. You don’t want to be looking for ways to work around an obstacle when you have the buck of a lifetime walking under your tree. This type of situational planning needs to take place when there’s no deer around and should be reviewed each time you get back in the stand so your reaction to each scenario becomes second nature.
2 . Jump Shooting
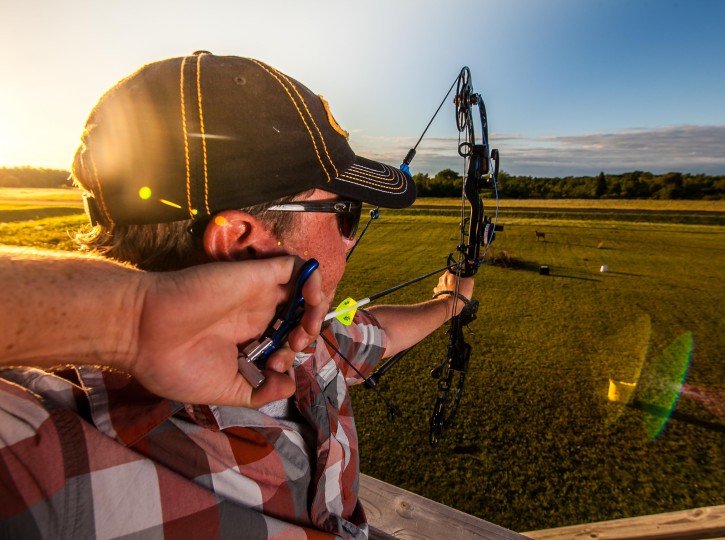
 It’s time to become the Reggie Miller of archery. Just as a quick release is beneficial to basketball, it can equally be important in the art of bow hunting. You hear the leaves crunching beneath hooves of a rut-crazed buck, quickly growing closer. By the time you realize what’s happening, the big boy is at 40 yards and closing the distance quickly. You have to throw your gloves down, stand up, grab your bow and draw before the opportunity passes. This same thing happened to me and unfortunately, I was a little slow on the draw, and missed a chance to have 170” of bone in my hands. There have been a number of things I have done to increase my odds of sealing the deal when faced with this situation. Standing up! It may seem simple but from that day on, I’ve spent as much time in the tree as possible, standing. If you like to shoot from your feet like me, it reduces a lot of movement and eliminates a major step in the process of shooting. If standing up all day seems miserable, I don’t blame you! If I’m not feeling the standing routine, I will often stand for the first two hours of daylight and the last hour or two before nightfall. This is often when things go down, and being ready with do nothing but increase your odds. Now if you prefer the comfort of your tree stand seat too much, I then suggest learning to be proficient shooting from a seated position. It can reduce a lot of the time, hassle and movement of trying to stand up to take the shot. When I’m at home, I’ll practice the same routine in a tree stand. Visualizing a deer busting hump towards me, I’ll discreetly as possible get ready and execute the shot!
 3. Practice Like You Play
How many times have you had the opportunity to shoot 30 arrows at a deer? A real life deer doesn’t care what kind of groups you shoot, the majority of the time, only the first one counts. When you launch the first arrow of your practice session and it ends up off its mark, it could have been a missed opportunity later in the year. No doubt, I spend the vast majority of August shooting around 300-500 arrows a week. The summer months are used for conditioning and building a highly repeatable routine, so as I begin my draw, autopilot engages. However, as the season nears I change my practice regiment. Instead of going out to the backyard with a quiver full of arrows, I’ll open my case in the evening, shoot 1, go back inside, do whatever and 10 minutes or so, I’ll come back and shoot another one. It emulates the reel thing in my opinion, putting all of your energy into making one shot. Five or six times a night I’ll come to full draw and hold for 30 seconds to a minute before releasing the shot. This routine puts the focus on making the first and only shot count and is another way to recreate what could happen in the field.  Low light is another often forgotten scenario when practicing. Considering a lot of the opportunities you will have are going to be within the first or last hour of light. Practice identifying your target through your peep and front sight and slowly, you’ll become more comfortable. If you keep practicing and practicing, and still you aren’t getting any better. It might not be a bad idea to check out getting a new sight. One of the best things I did for shooting in low light is switching to a single pin sight, as it really has de-cluttered my sight picture. My go to is the HHA Optimizer Lite Ultra Series, hands down. Some of the other top choices are the Cobra Sidewinder, and if you prefer a multi-pin sight, the Black Gold Surge is a solid option. If you’re not interested in getting a new sight but would like to shed some more light on your target, consider getting a larger diameter peep sight, it may mean sacrificing a little accuracy for better low light performance but unless you’re consistently making 60 yard shots, you’re unlikely to notice it in the field.
4. Pin Gaps
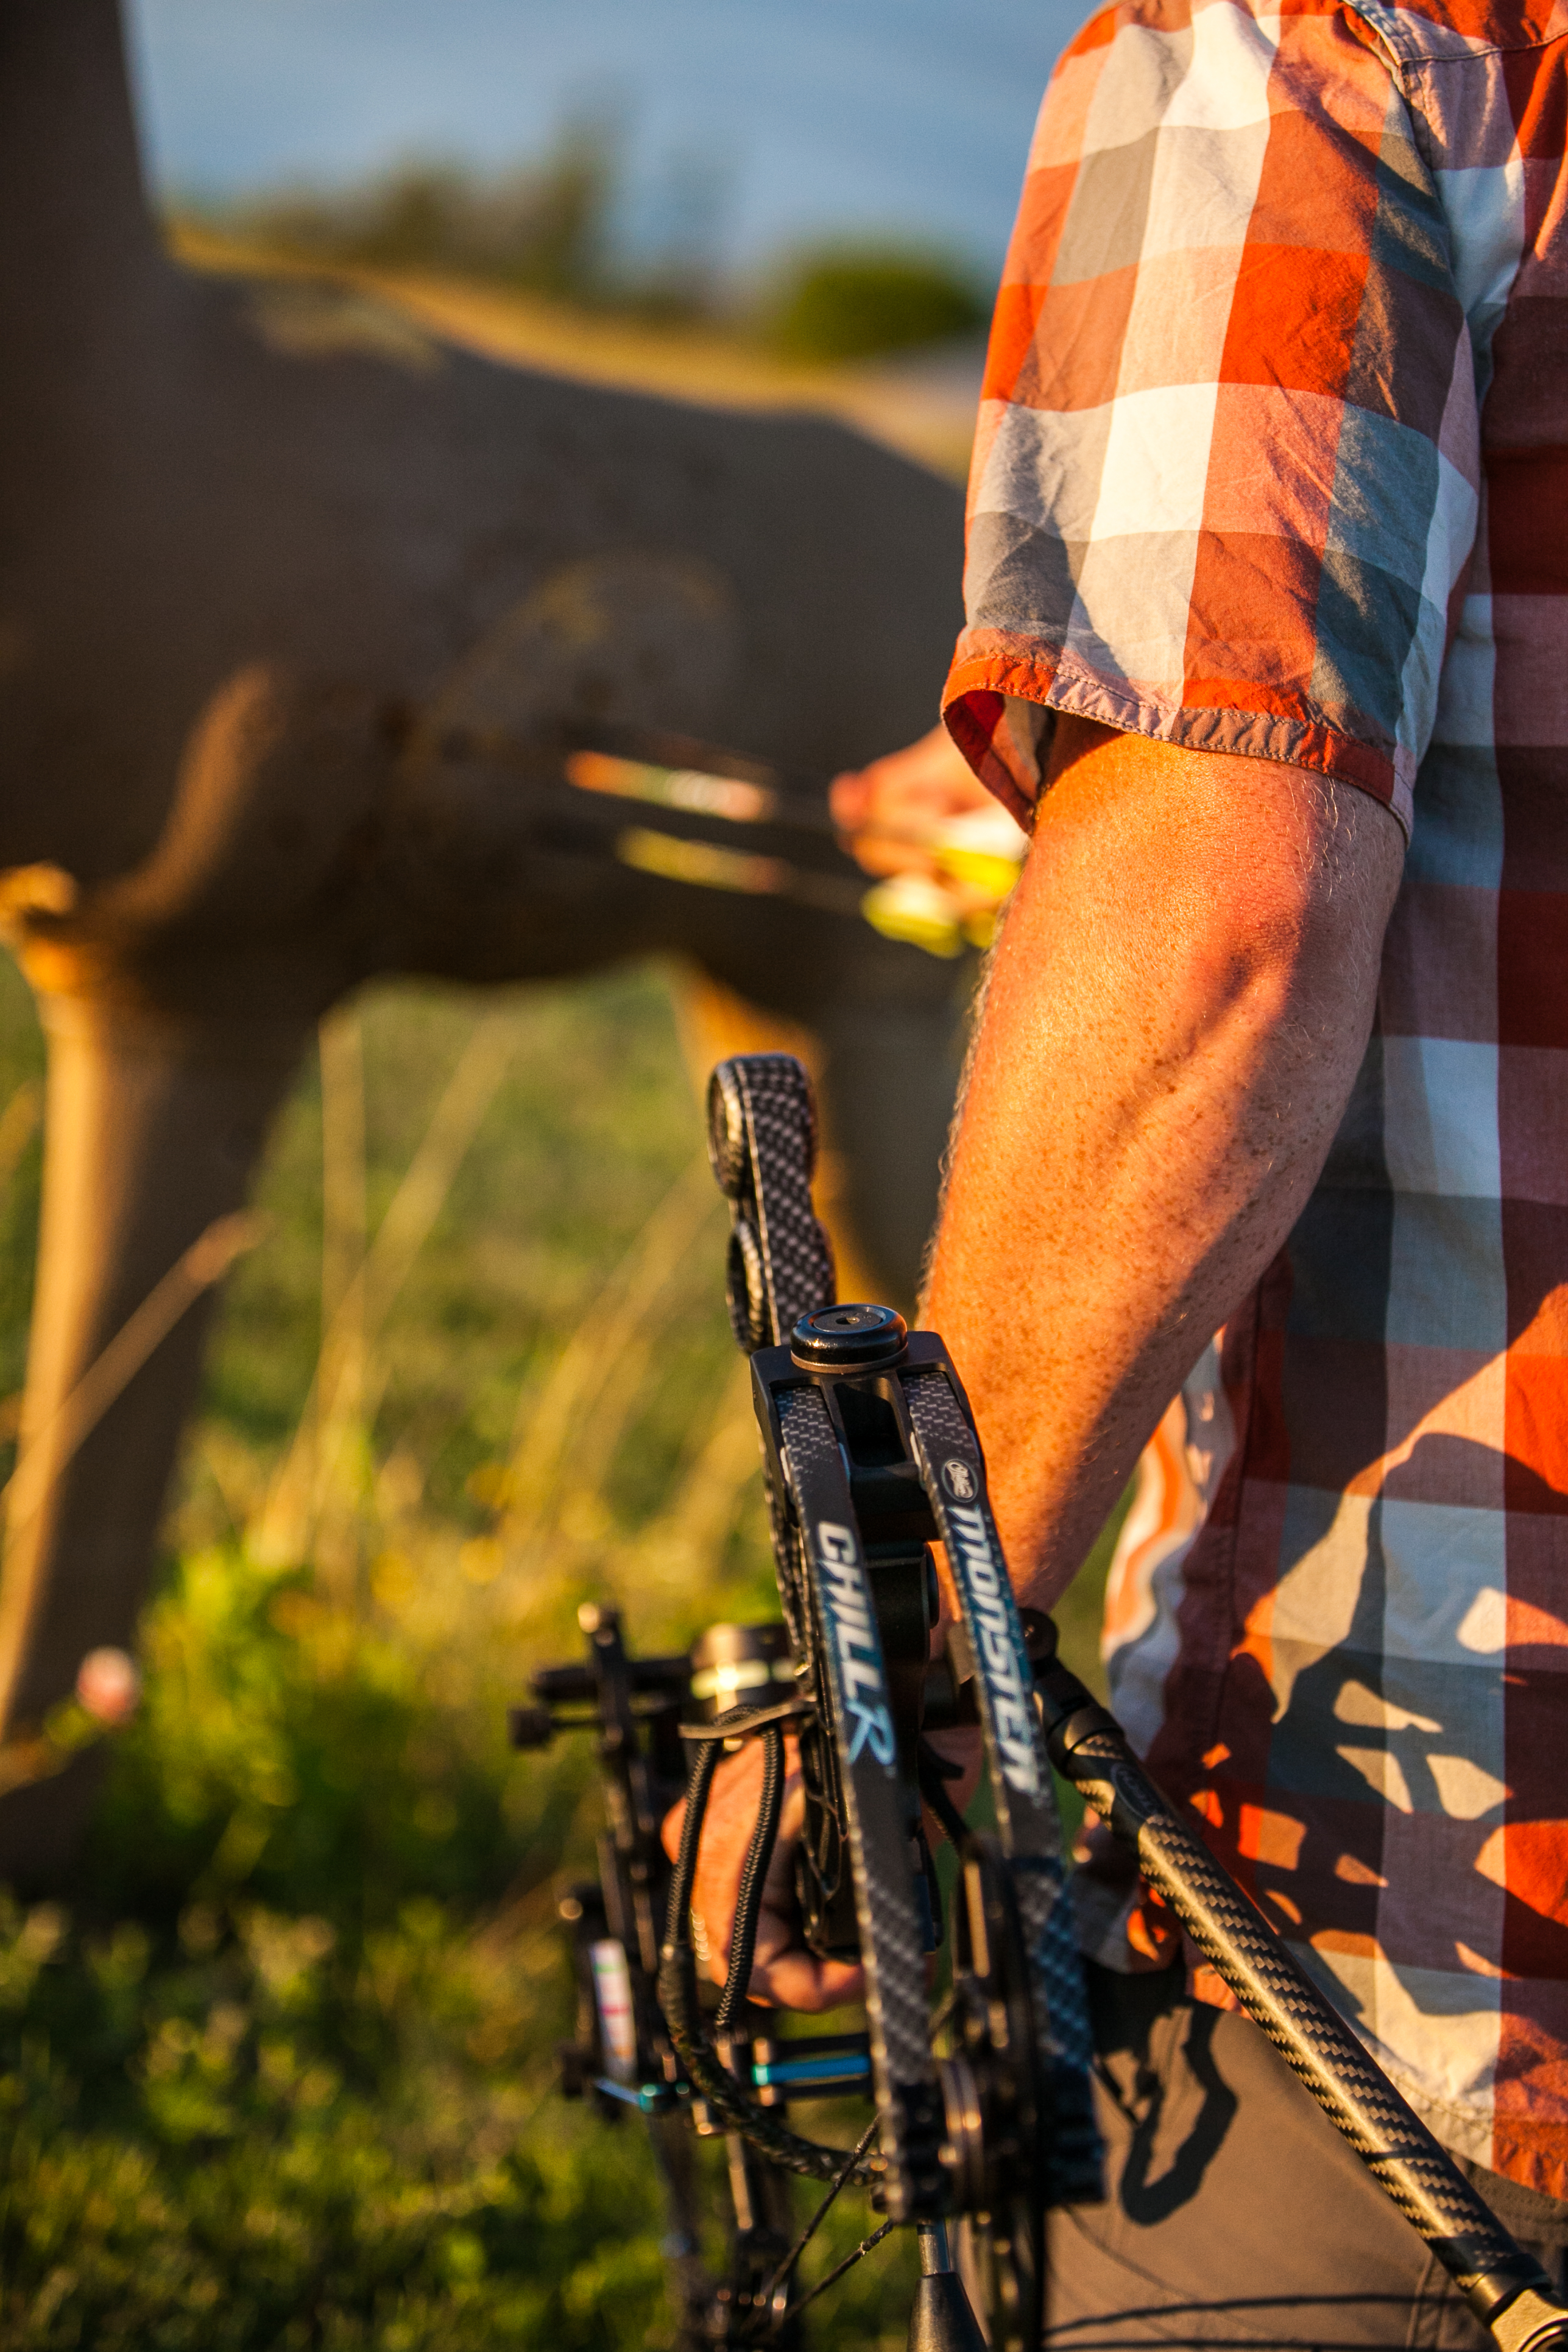 One of the biggest challenges for a deer hunter is having an animal spook close to the stand, let’s say at 15-yards, and have that retreating deer stop suddenly and for an instant at 35 or 40 yards to take in one final assessment of the situation, while the hunter attempts to adjust for aim point and range, while at full draw. If you’ve not practiced how to quickly and accurately adjust aim point under this type of scenario you might as well wait for a different shot at another time. Obviously, this is a practice opportunity aimed primarily at single pin sights but there is certainly some cross-over for the multi-pin crowd. Like I mentioned early, I am a big fan of the HHA single pin sight and I feel it is incredibly important know where my 20-yard pin will hit at 30 and 40 yards, and vice versa. As bows have become faster the flight trajectory of our arrows has flattened with the subsequent result of reducing the gap between sight pins. For example, if I shoot my 20-yard pin at 30-yards my arrow only drops 2-3 inches. Now if we move out to 40-yards, my arrow drops a little less than a foot in comparison. This knowledge is incredibly useful when you’re at full draw and tracking a moving deer! In regards to shooting a 4 or 5 pin traditional sight, I still like to know where different pins will hit at different distances. Again, if you’re not exactly sure of the yardage but you know it’s under 30, a lot of the time I would opt to shoot my 20-yard pin knowing my arrow will only drop a few inches at 30-yards and anything inside of 30-yards the point of impact would be close to dead on. In comparison, if I was to opt for the 30-yard pin and the deer turned out to be at 22′ my pin selection alone would send my arrow sailing over the deer’s back.
5. Steep Tree Stand Angles
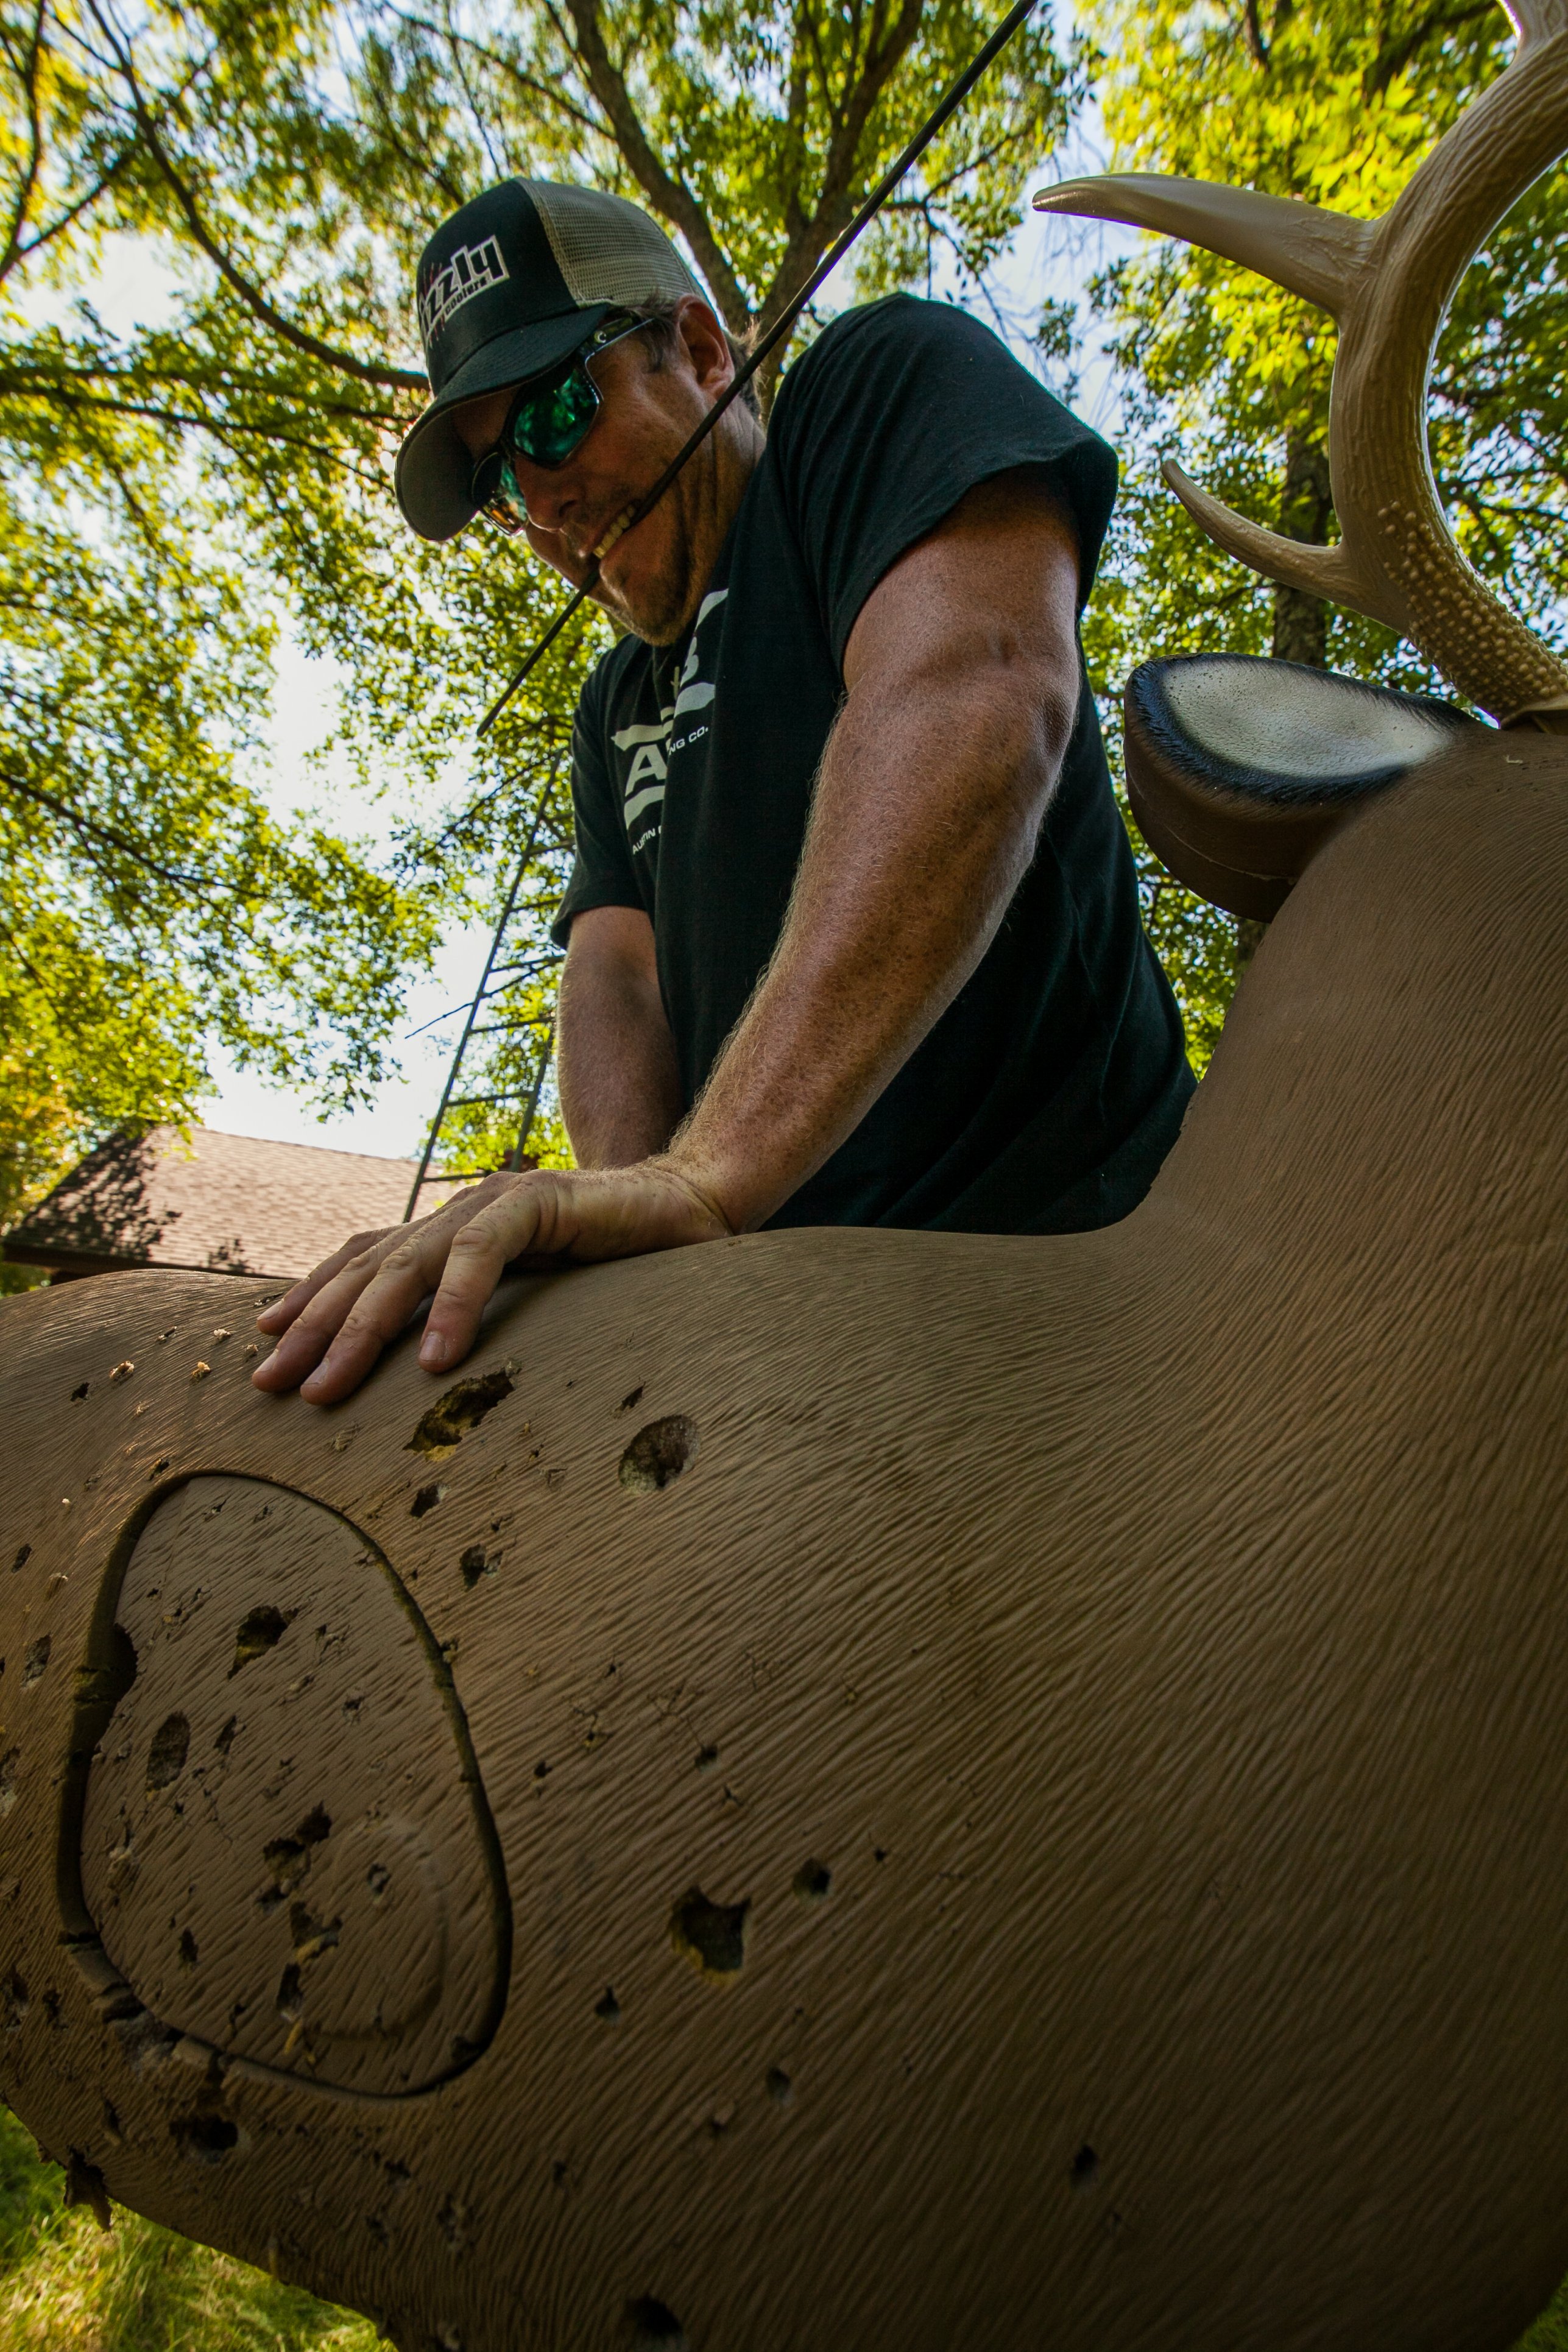
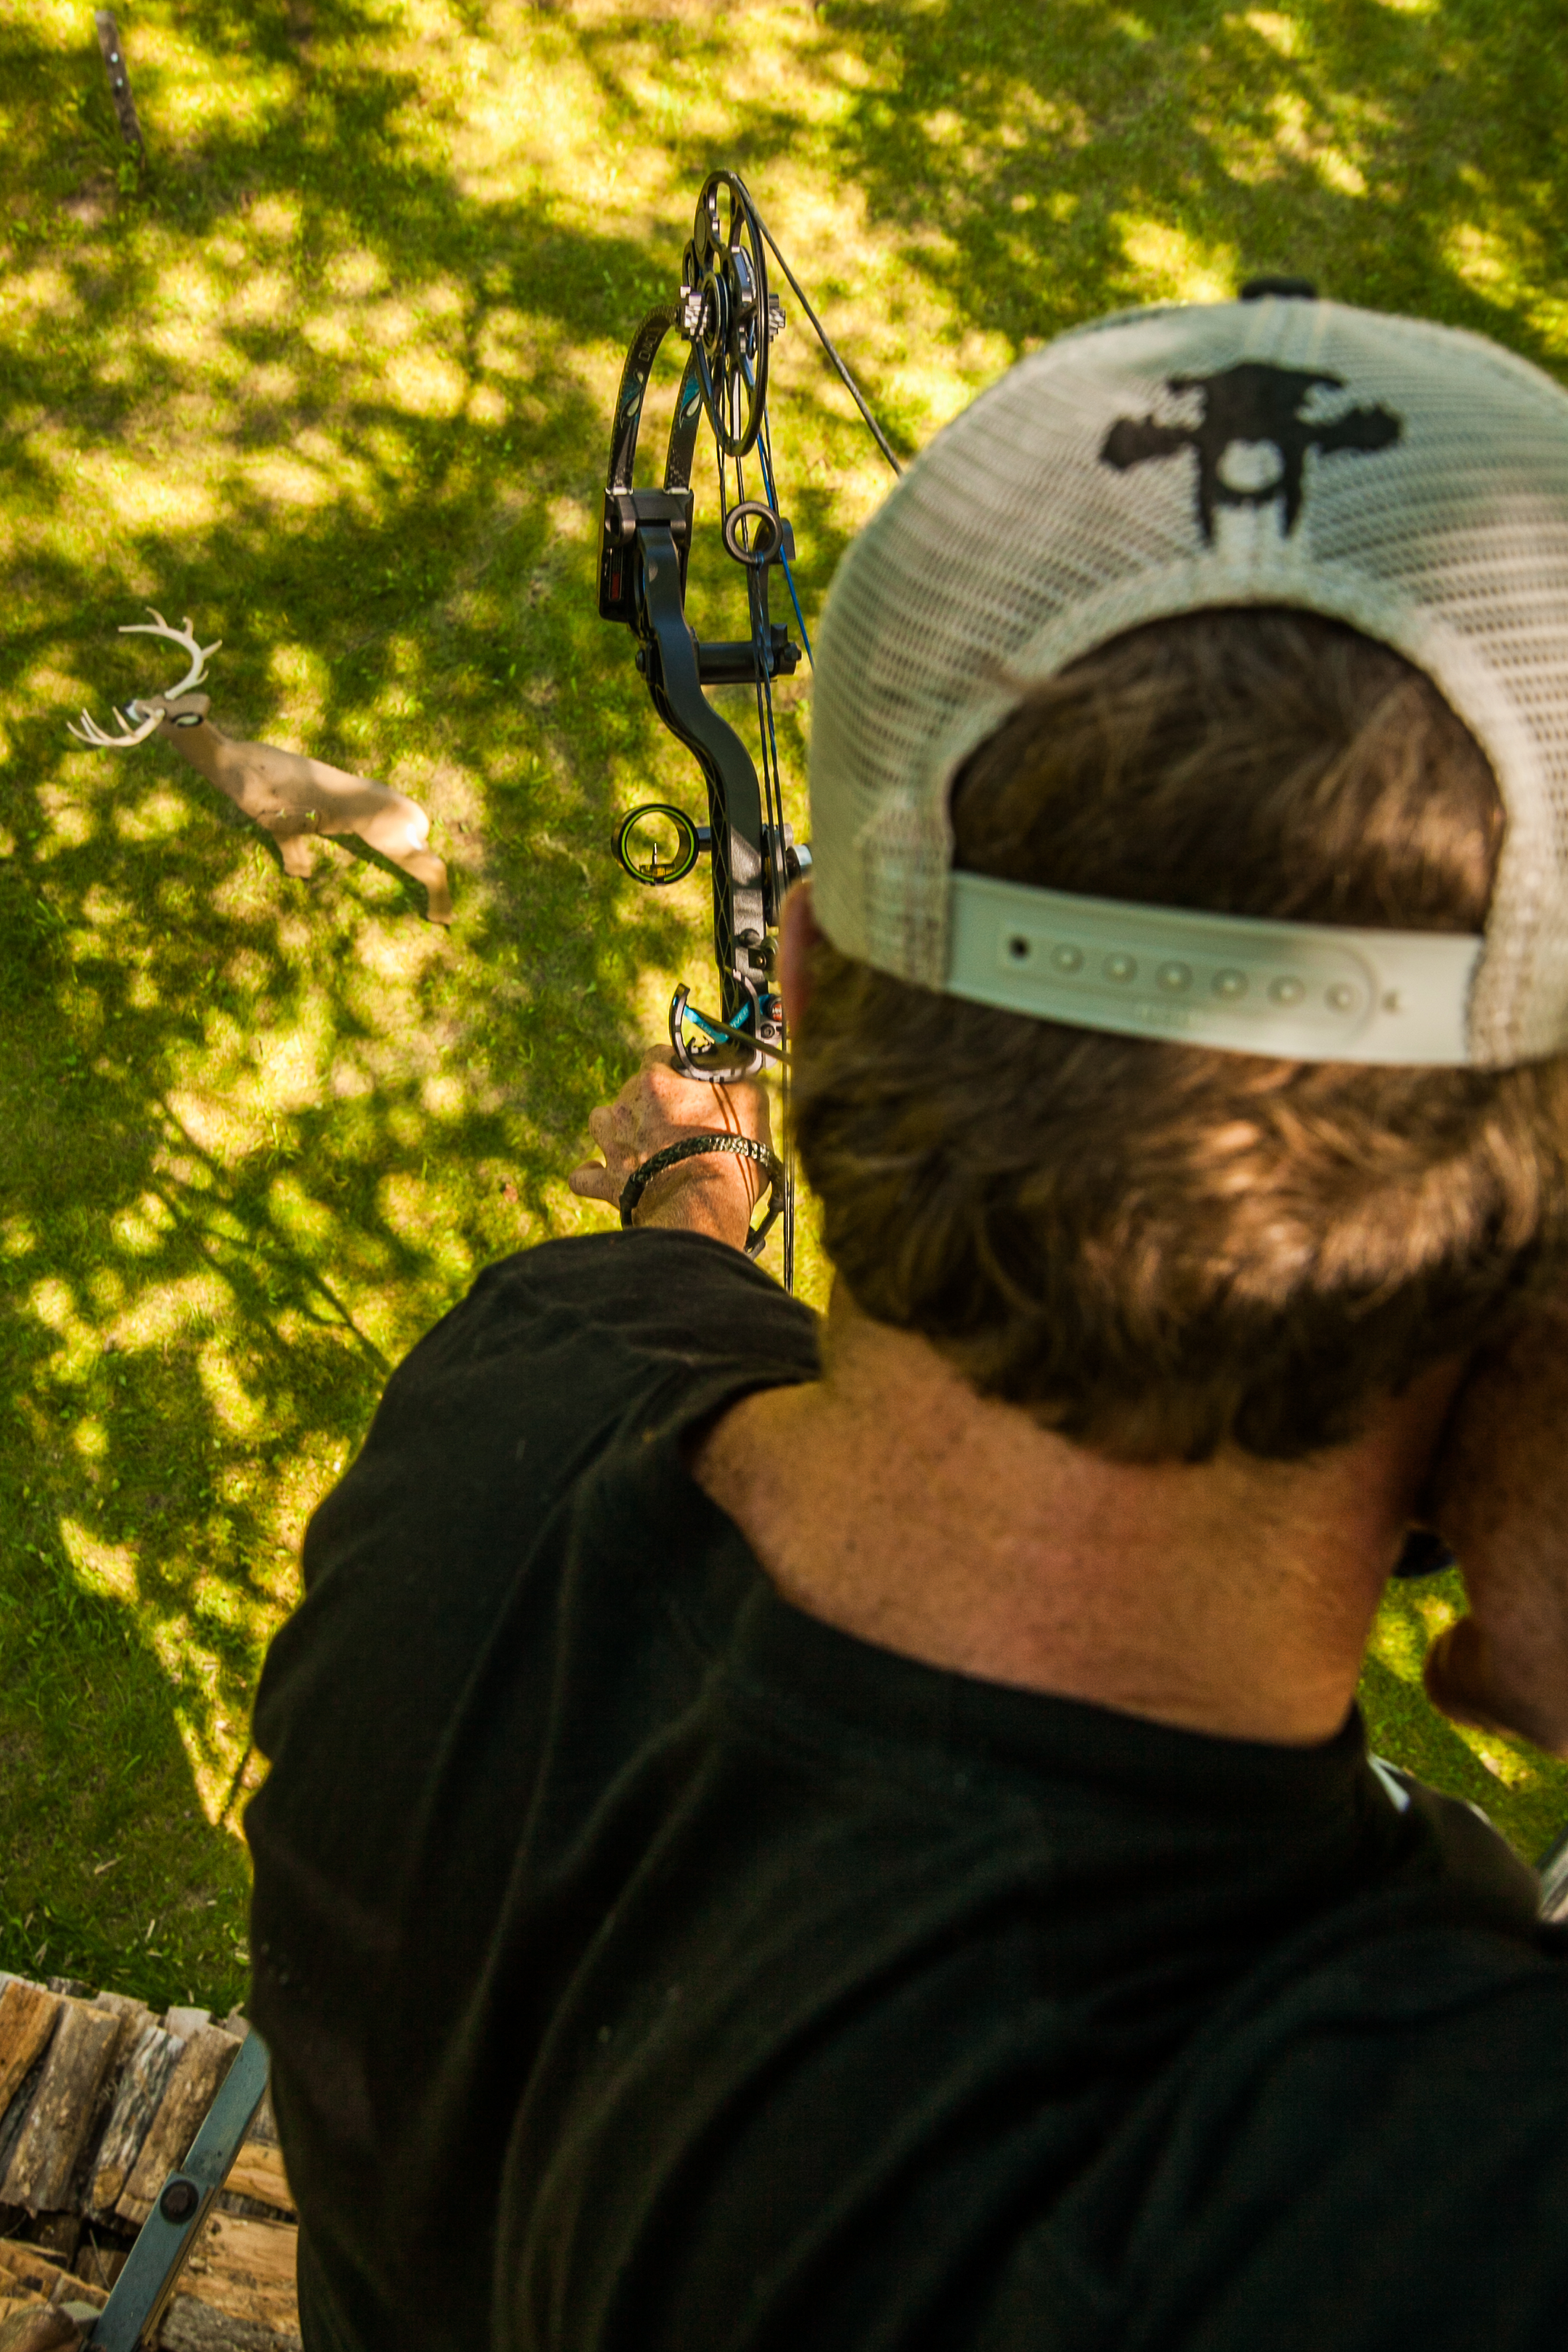 This is a shot which was often feared in the past and for good reason! Older bows shot significantly slower and your point of aim from a steep angle vs. the ground could be dramatically different. With improvements in equipment this scenario is no longer the high hurdle it once was. That said, there’s still at least one “steep angle” situation you’ll want to consider practicing. The only time I alter my aim point to adjust for a steep angle is when the deer is less than 10-15 yards away. Even at that range I only lower my aiming point by 2-3 inches at the most. Now if you’ve listened to talk at the range you’ll get a wide range of suggestions. Some will say you need to hold your aim point “dead on,” while archers on the other end of the spectrum will suggest lowering your aim point up to 6 inches. There is some truth to both statements but how you adjust your aim point really comes down to how your mechanics are altered when taking this type of shot! The solution for bringing your aim point and point of impact back into alignment when taking steep angle shots is simple – bend at the waist! Instead of just pointing your bow arm down at the target, you need to physically bend at the waist in order to maintain the same anchor point you have shooting horizontally. It’s a really easy thing to practice on the range, and again, when you get into the stand it will become second nature. This is an easy shot to nail if you take a little time to practice, especially on a deer shaped target. You can then easily see where your entry and exit wounds will be and adjust your impact point to do the most internal damage! Once you get this shot down, it’s like a golfer hitting from a sand trap. Golfers that don’t practice how to get out of the sand hate that particular shot, while those that do know it offers consistent result, an easy “up and down,” if you will!
Hey Ben, do you ever use a bow for turkey hunting?
I know Joel was sticking them a while back.
Sure do! The last two years in SD I’ve pegged one with a bow. I would have been able to get a few more but Joel has a habit of shooting them out from underneath me.
Ben, do you use a thumb release and a side bar during season? I plan on shooting side bar but not sure on the thumb release.
Wade, Sorry didn’t see your comment. Yes I for sure do. I’ve been shooting a thumb release since 2010 and love it. I switched to the Stan 4 finger last summer and it has drastically improved my spot scores, and I had no problem with it hunting last year. It’s kind of become second nature.
Only with a gun, and when I can convince myself that you wouldn’t take/make the shot anyway. For all the turkey hunts I’ve been a part of, they still make me nervous. And they taste good. Particularly the ones that are otherwise destined to have Ben’s tag slapped on them!!!
Joel