I have been making my own venison jerky for about 10 years now. People are generally impressed with it, so I thought that I would share my process. This process leaves the jerky very tender. It doesn’t dry it out to the point where you are chewing bark.
I use High Mountain Jerkey cure. You can pick it up at Cabela’s or Gander Mountain (or maybe even walmart). You can follow the directions in the kit, and the jerky will come out good enough. I have slightly modified the way I do it over time to enhance the flavor a bit, and here are the steps that I take.
1. Slice up the meet.
I generally cut them around 1/4″ thick. If it is a little thicker that’s okay, and if it is a little thinner that is okay as well.
2. Dry out the meat.
This part of the process is not in the directions, but is probably the most important.
Put paper towels down 3 layers deep (so stack paper towels three layers thick), and create enough surface area so that all your meat can be placed on them. I say three layers because that’s generally how many layers it takes for me. Place the meat on the paper towels. Take another 3 layers of paper towels, and put them over the top of the meat. With your hands, press down on the top layers until the paper towels start to to get wet. Leave the meat sitting for 10-15 mintues. The paper towels will pull a lot of the moisture out of the meat for you. If the meat is really wet and saturates the paper towels, repeat this process until the paper towels barely pull any moisture out of the meat.
3. Season the meat.
Follow the directions in the kit for mixing the appropriate ratio of seasoning to cure. There is a shaker bottle in the kit that you will use to apply the seasoning and cure. I generally use the 5lb mixture ratio. The kit says to only mix as much seasoning as you need for the weight of the meat that you have. I don’t pay any attention to this. I would guess that for 2-3 lbs of meat, I will use the amount of seasoning that the kit recommends for 5lbs.
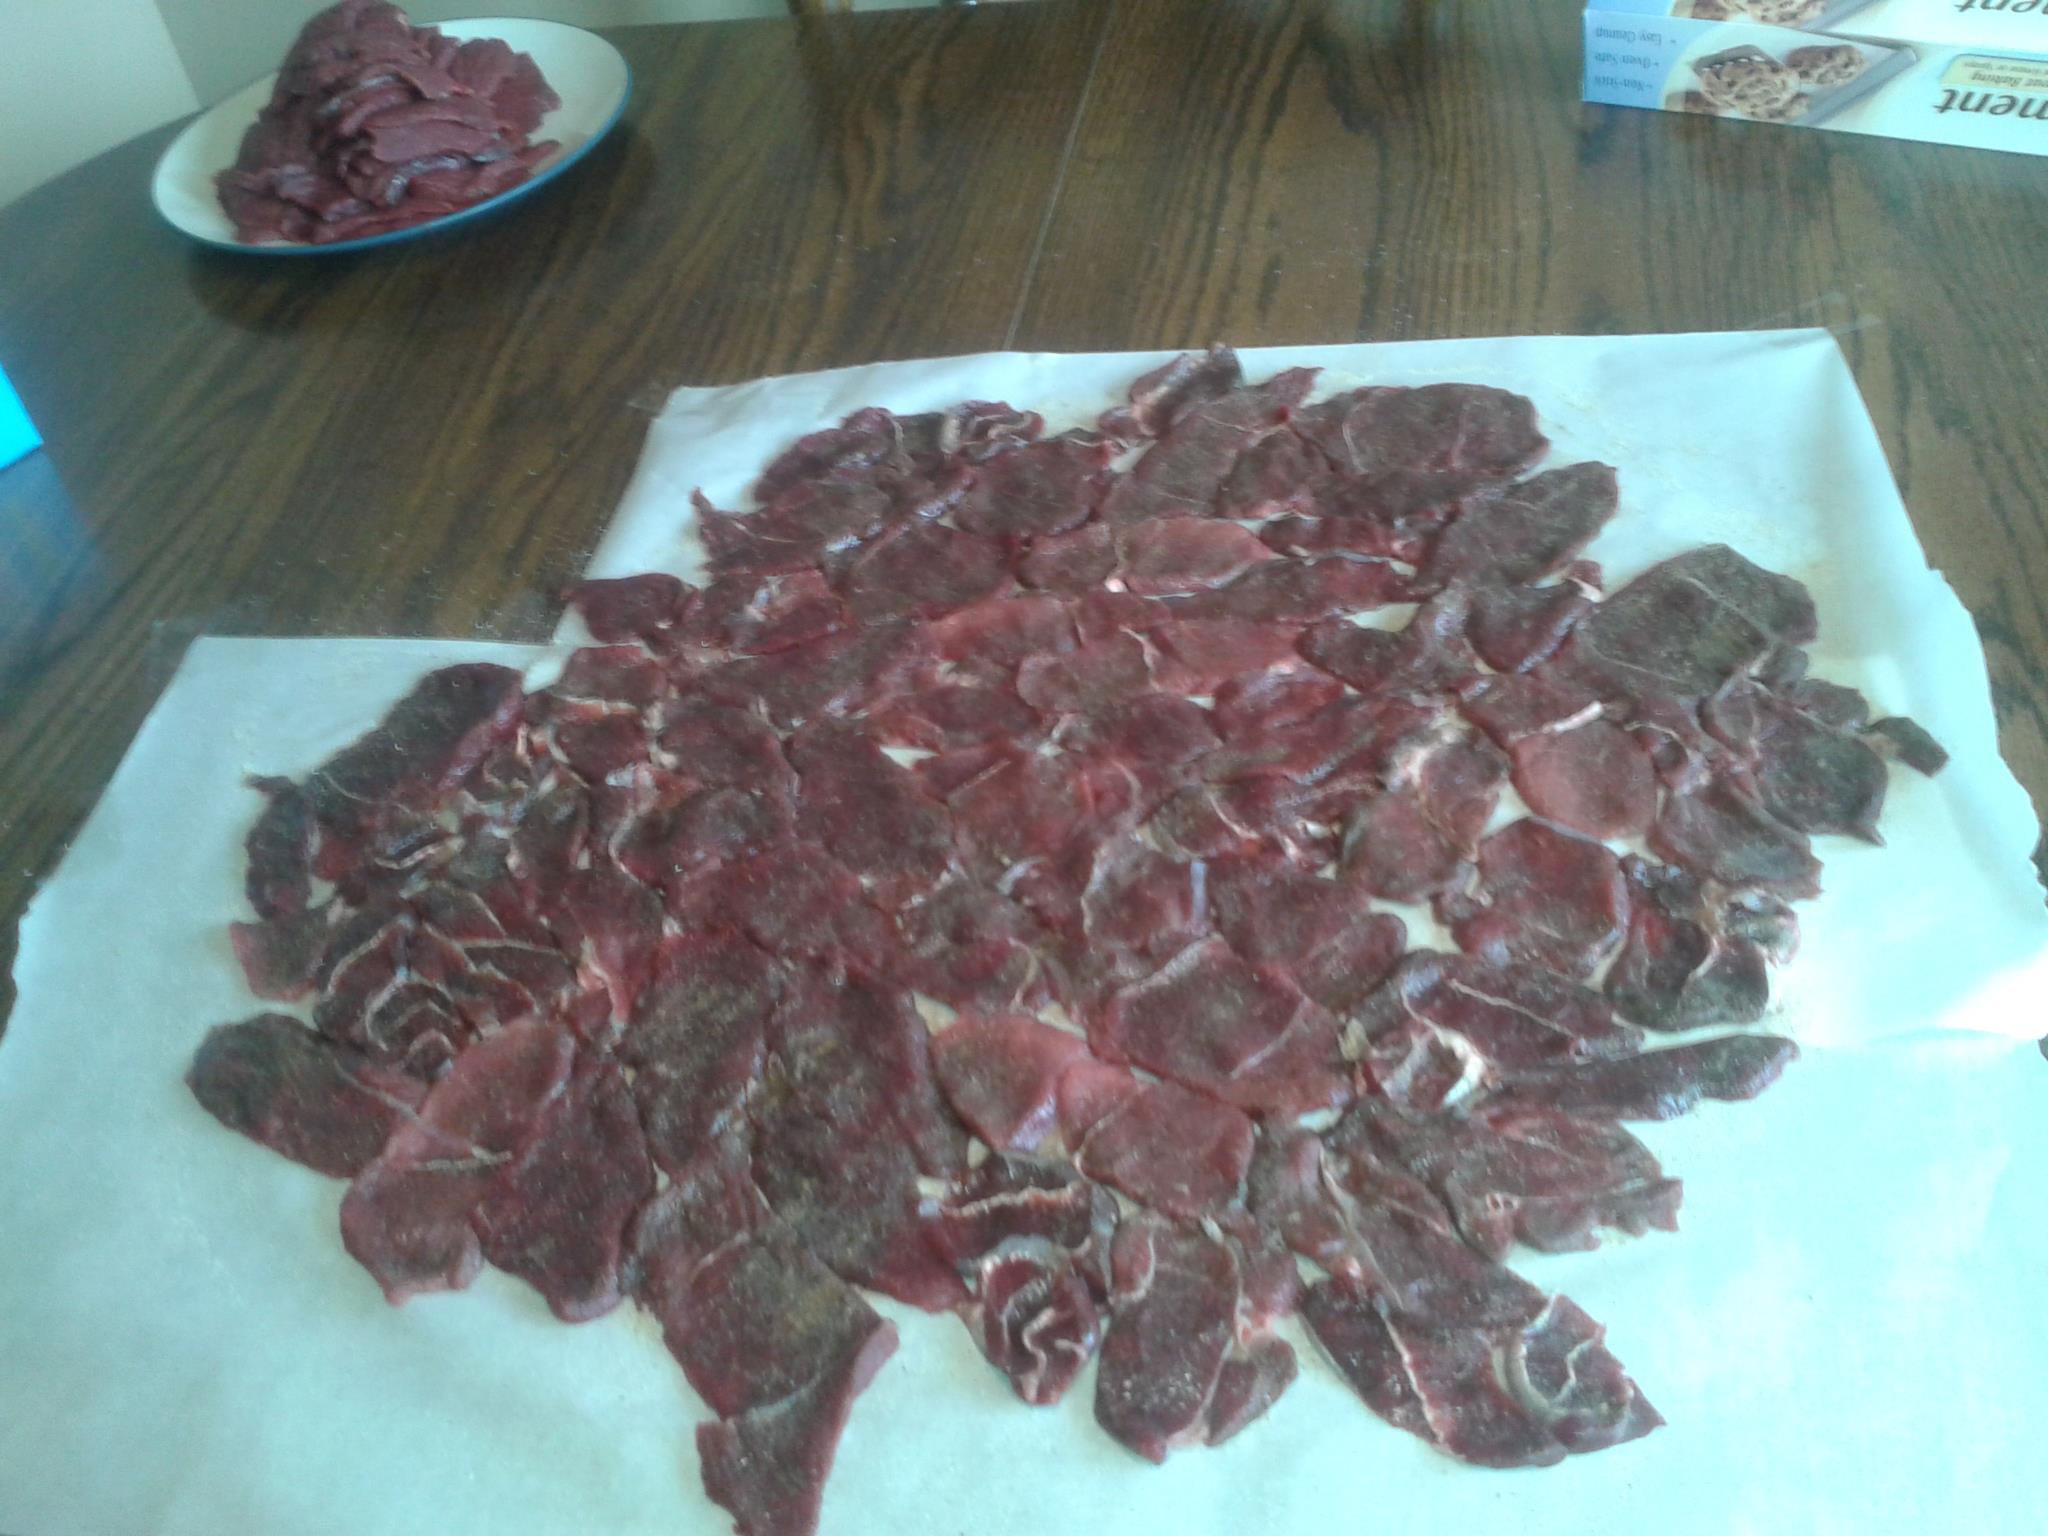
Lay out enough wax paper so that you can place all of your meat down. Lay the meat down on the wax paper, making sure to push the meat together so that there are no gaps. This will drastically reduce the amount of lost seasoning. Once all of the meat is down, you can start applying the seasoning. My goal is make sure that I completely cover each piece of meat with the mixture. It is tough to put into words how “thick” I put on the seasoning. I would suggest starting out with smaller batches until you find the correct covering for your taste. The most important thing is just making sure that each piece is completely covered in seasoning. Once the meat is covered with seasoning, flip the meat over on the waxpaper and repeat the seasoning process.
When both sides are seasoned, take the meat off of the waxpaper and place into a zip lock bag. Before zipping up the bag, make sure to squeeze out as much of the air as possible. Put the meat into the fridge, and let it sit for ~24 hours. A few less or more won’t hurt anything.
4. Cook the meat.
I usually line cookie sheets with tinfoil, and place cooling racks over the top of the cookie sheets. Lining the cookie sheets with tinfoil stops any drippings from ruining the sheet. Take the meat, and lay out each piece on the cooling racks. Leave a little bit of space between each piece of (less than 1/8 of inch is plenty of space). Preheat the oven to 220 degrees. When placing the cookie sheets in the oven, the oven rack position doesn’t seem to matter. I have placed cookies sheets on three racks before, and things have turned out fine. Make sure to crack the oven door just a bit. I generally cook the meat for 99 mintues.
5. Freeze the meat.
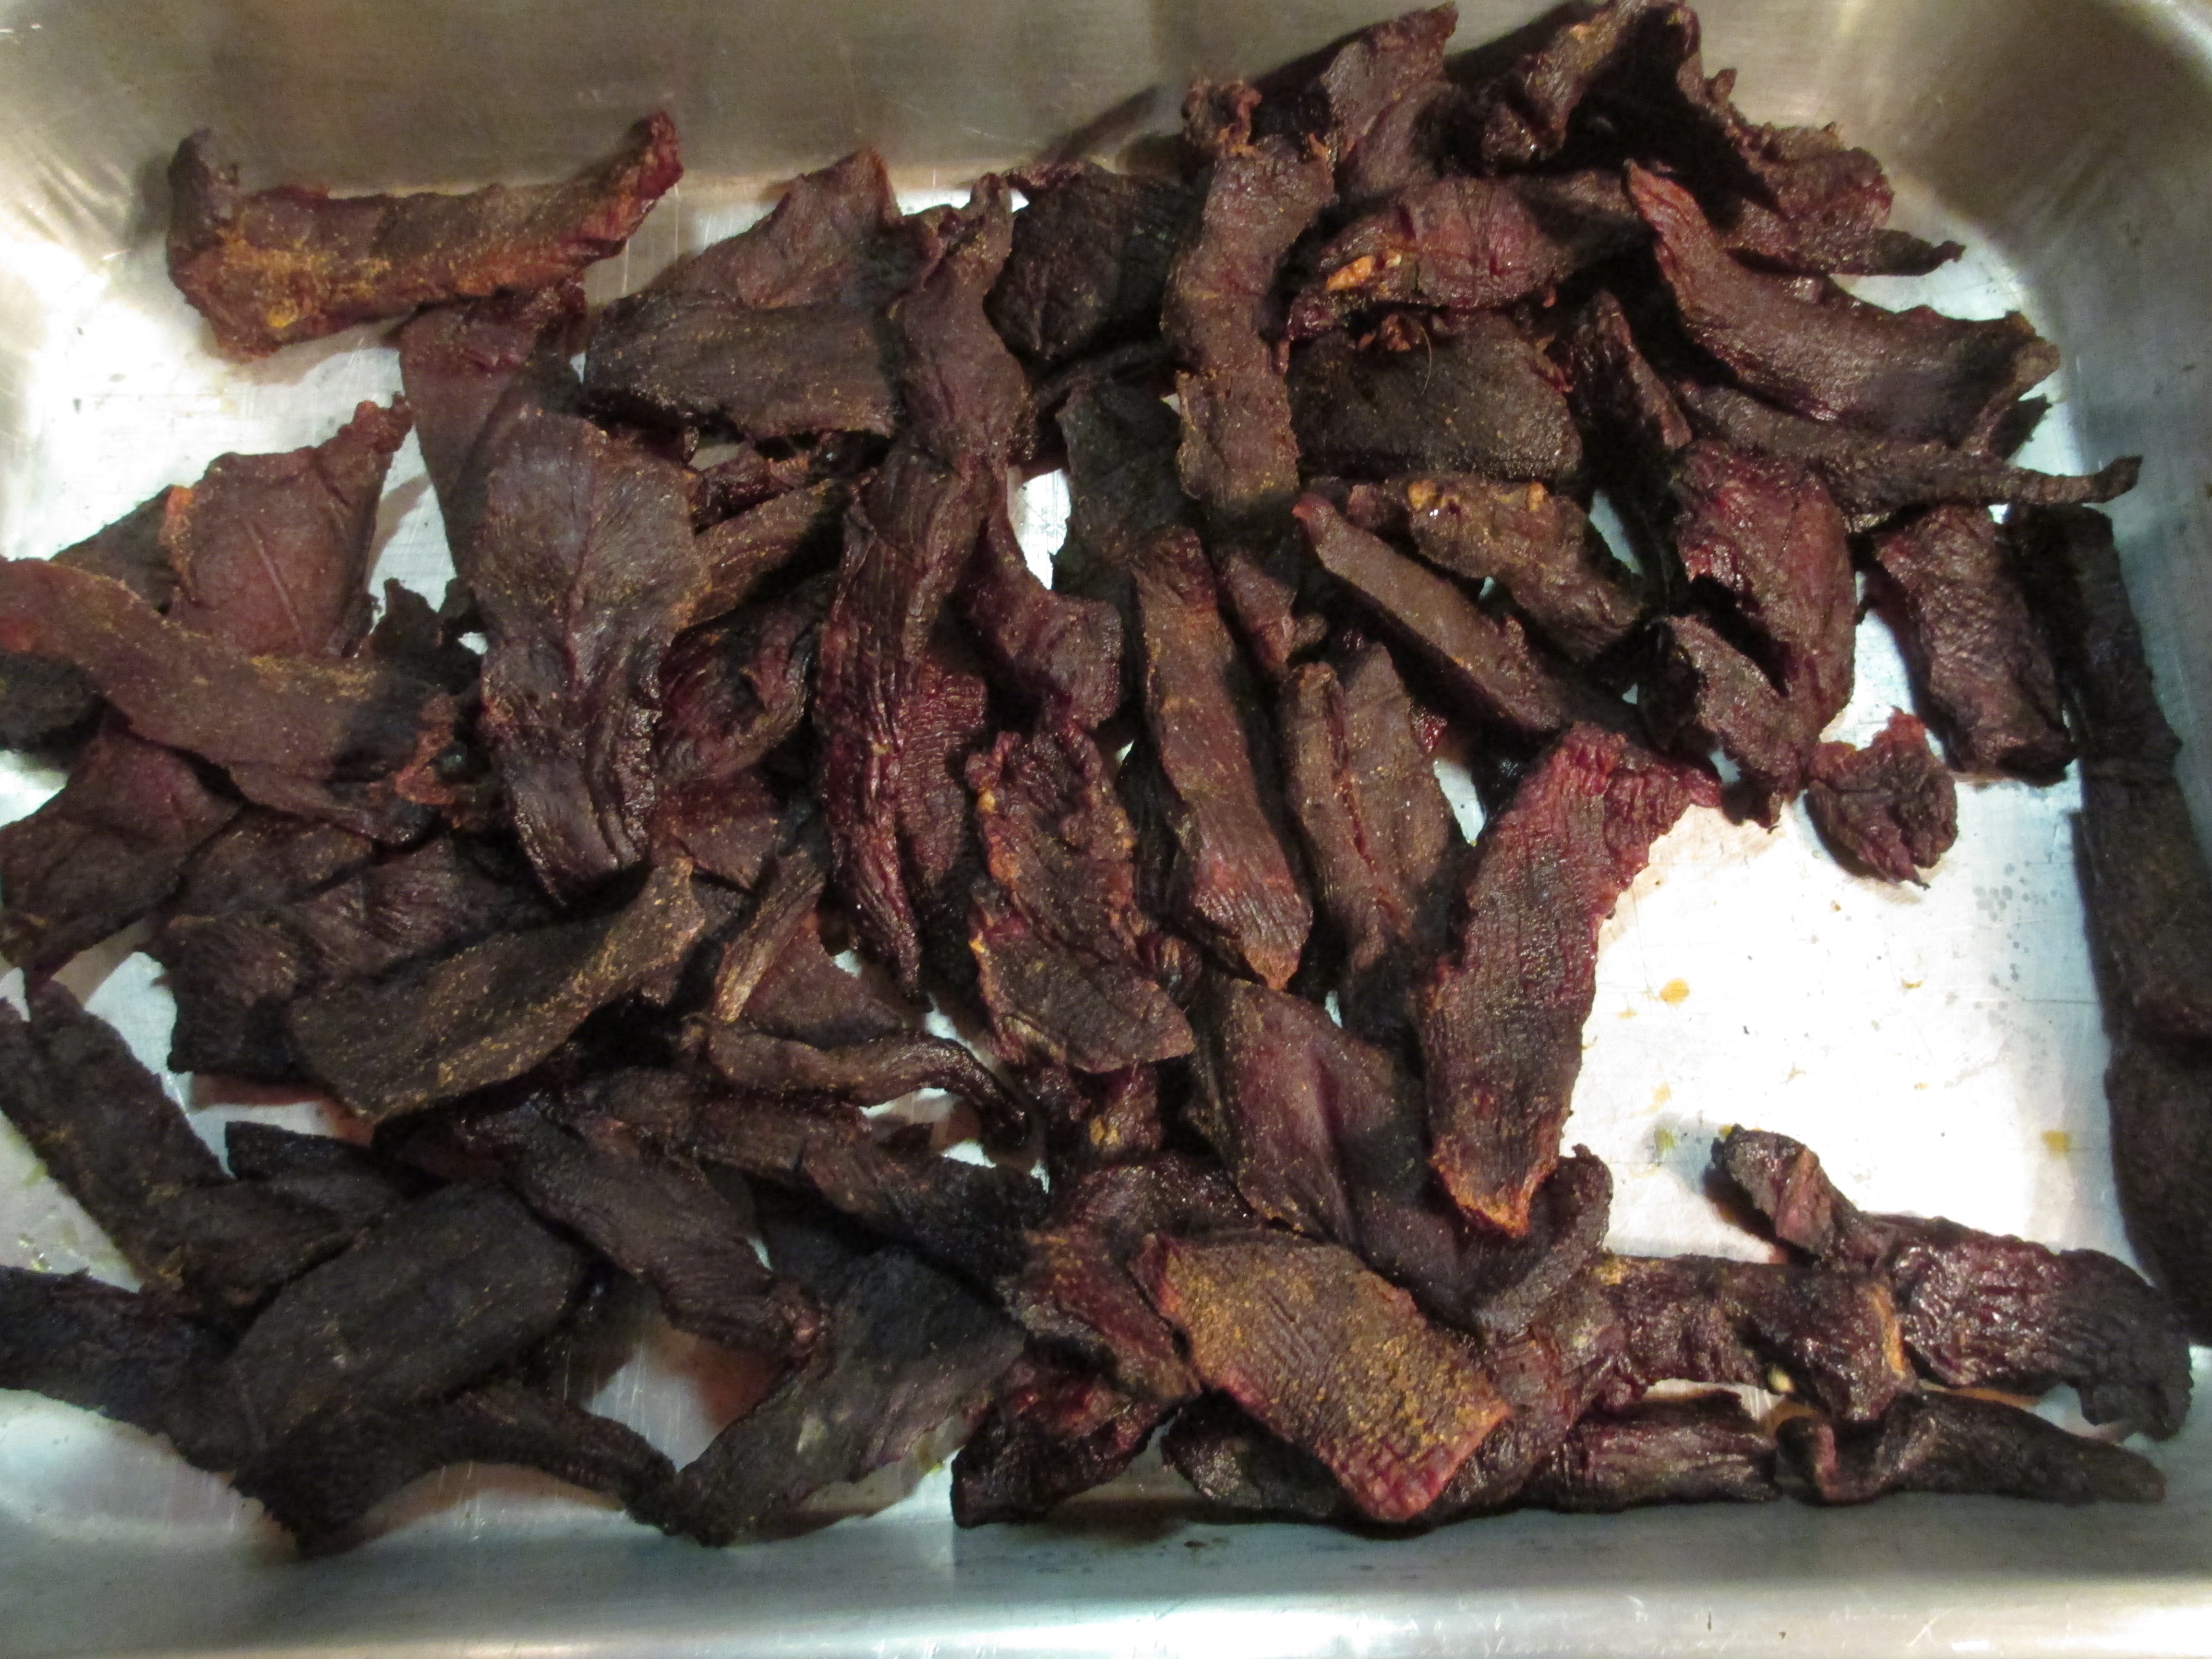
After I take the meat out of the oven, I remove the jerky from the cooling racks and place it on paper towels while still warm. As the meat cools, moisture will build up on the meat, and the paper towels will soak it up. Once the meat has fully cooled, place it into ziploc bags. I put paper towels in the bags as well.
That is it. Enjoy!
Attachments:
475983_896570076070_1927327123_o.jpg